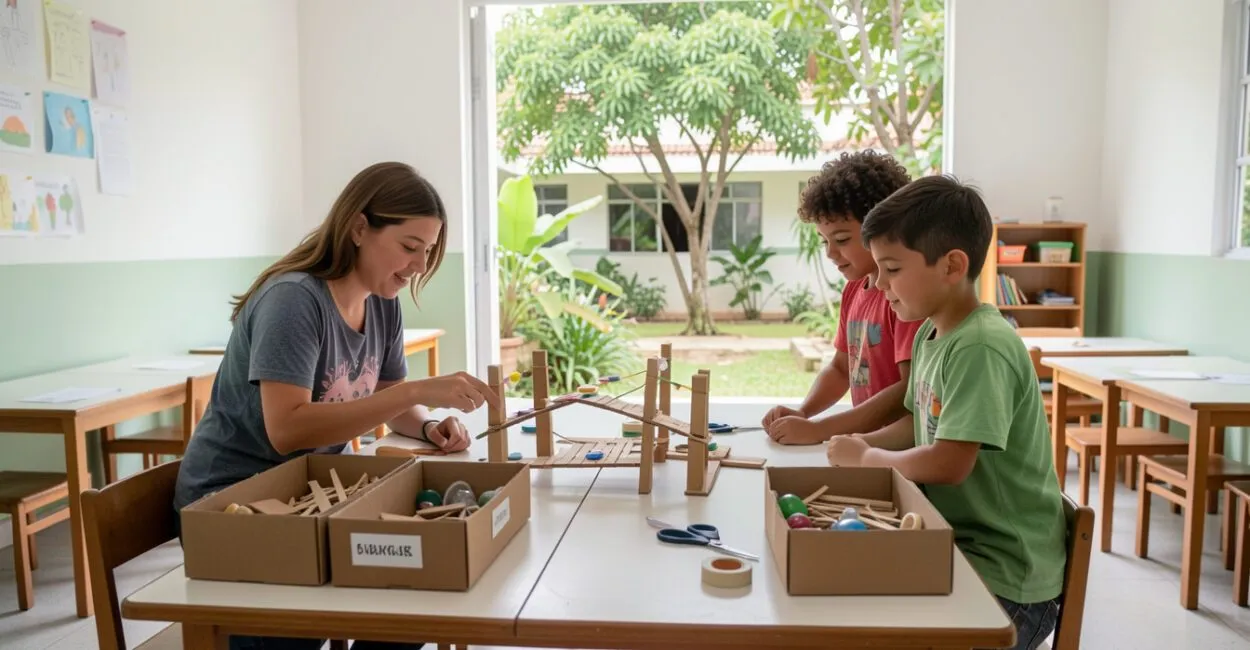
A sturdy table, labeled bins, and reused materials are enough to get a school maker space started. What defines the space is the opportunity for students to create, test, and revise solutions to real-world challenges, with teacher guidance and age-appropriate safety measures.
That means schools don’t have to wait for 3D printers or a dedicated room. With planning, even a corner of the library can host building, inquiry, and collaboration activities.

The key is to organize the space so ideas can move from paper to reality without compromising traffic flow or safety.
At a Glance
- Purpose: Learning through creating, experimenting, and problem-solving.
- Minimum space: A shared area can work, as long as there’s a routine for setup and cleanup.
- Starter materials: Cardboard, clean packaging, paper, string, tape, and drawing supplies.
- Advanced equipment: Optional; not required to get started.
- Safety priority: Choose age-appropriate tools and materials, and provide supervision.
What Is a School Maker Space, and How Does It Support Learning?
A maker space is an educational environment designed for students to plan, build, test, and improve objects or solutions while drawing on knowledge from different subject areas. Put simply, it’s a place to learn by doing, with time to experiment and explain the choices they make.
The process encourages student ownership because each group makes decisions; collaboration because tasks and ideas need to be negotiated; and problem-solving because prototypes rarely work perfectly on the first try. The teacher’s guidance connects the activity to curriculum goals rather than letting the building become just a pastime.
This approach can connect with project-based learning, maker culture, and computational thinking. Robotics is one option, not a defining feature: drawing, paper, suitable wood, sewing, and reused objects can also support inquiry and learning.
How to Plan the Space for Your School and Students
To create a functional maker space, the school should first decide what students will learn, which age groups will participate, and how often the space will be used. Then consider available space, traffic flow, storage, supervision, and budget. Starting with these criteria helps avoid buying equipment that doesn’t fit the school’s routine or ends up unused. Map out the planned activities. A project using cardboard and drawing calls for tables, age-appropriate scissors, and a place to store works in progress; activities with water or paint require washable surfaces and access to cleanup supplies. If the space is shared, establish how materials will be brought in, where unfinished projects will be kept, and who will reset the space.
A rolling table or cart with bins can serve more than one class. To expand the range of activities for young children, ideas from a simple-materials art workshop can be adapted into creative challenges, as long as there’s a clear learning goal.
Low-Cost Materials and Tools to Get Started

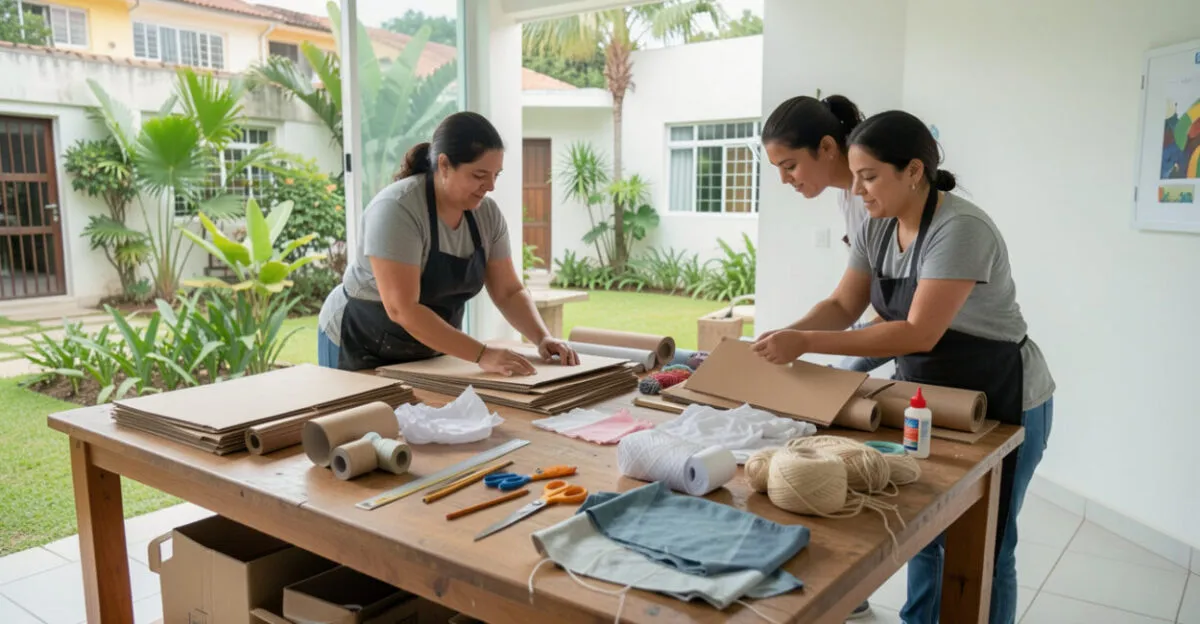
Start with clean cardboard, paper rolls, packaging with no sharp edges, paper, magazines, fabric scraps, string, clothespins, tape, and pencils. These supplies can be used to make structures, toys, maps, and models. Before accepting donations, check that items are clean, intact, and from a known source; containers that held chemicals should be excluded.
For tools, start with pencils, rulers, school scissors, appropriate glue, and age-appropriate safety hole punches. Utility knives, power tools, hot glue guns, and small components require specific assessment, controlled access, and direct supervision. Choose tools based on what the activity requires and what staff can supervise, not on what seems most high-tech.
Arduino boards, robotics kits, cutters, and 3D printers can be added later, once there are clear goals, staff training, and maintenance plans. Searching for “maker project PDF” or “100 maker projects PDF” can provide inspiration, but adapt any instructions to the resources available and students’ ages; a ready-made sequence is no substitute for instructional planning.
Organization and Safety During Hands-On Activities
Organize the space by use: creating and drawing, building, consumable materials, and project storage. Clear or labeled bins help students find and return supplies. Keep aisles and exits clear, secure cords, and store higher-risk tools in a controlled location.
Complete guide: Creative Teaching: A Guide to Transforming Learning
Supervision should match the materials and the students’ maturity. Before the activity, review a few simple rules: how to carry scissors, where to cut, how to share tools, and what to do if a piece is damaged. For power tools or other higher-risk equipment, follow the manufacturer’s instructions, school policies, and local requirements; a general rule cannot replace an equipment-specific safety assessment.
NR-12, a Brazilian Ministry of Labor and Employment regulation, covers workplace safety for machinery and equipment. Although a school classroom is not automatically a professional workshop, consulting the government’s official workplace safety guidance can help identify risks when a project involves machinery. If in doubt, remove the equipment from the activity until the school establishes safe conditions.
Read also: School Planning: 10 Tips for More Effective Classes
How to Lead Maker Activities from Challenge to Reflection
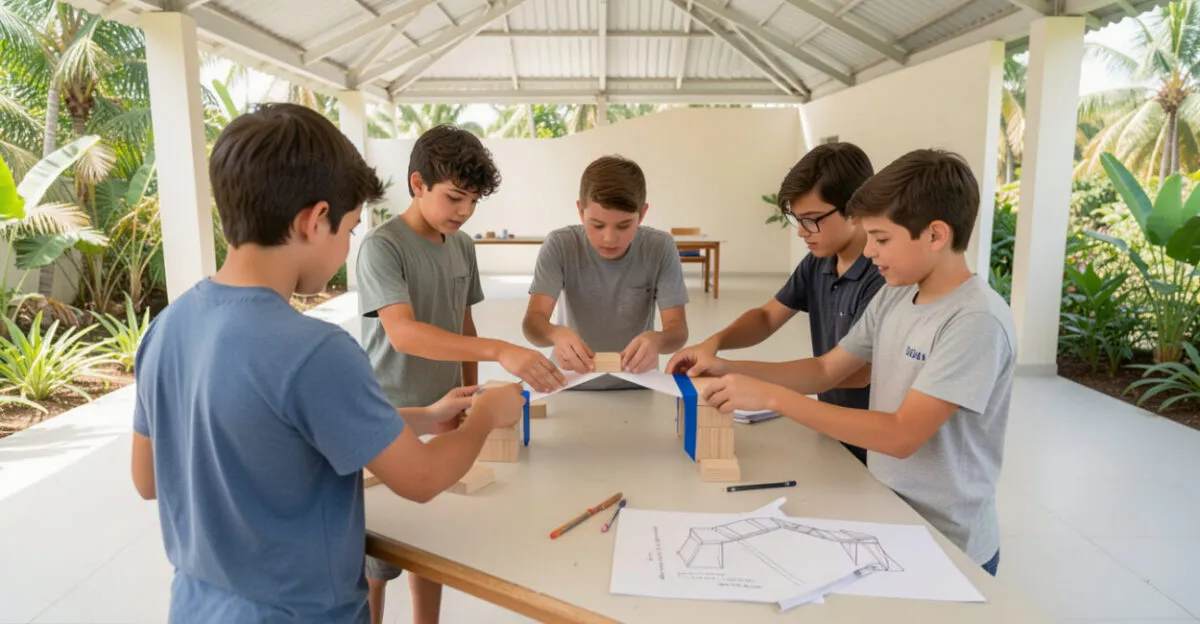
A well-designed activity starts with an understandable problem and leaves room for different solutions. The teacher sets criteria, material limits, and a time frame but avoids giving everyone a model to copy. Then each group plans, builds, tests, and revises.
- Present the challenge: For example, build a paper bridge that can hold a few lightweight objects.
- Plan: Ask groups to sketch an idea and choose materials before building.
- Build and test: Observe what bends, comes apart, or needs support.
- Revise and explain: Students record what they changed and why.
A class can build bridges from strips of paper and tape, compare designs, and record which structure holds up best under the teacher’s test. If a bridge sags, the group identifies the weak point and reinforces only that area. The closing discussion connects shape, material, and observed evidence instead of rewarding only the prettiest object.
Students can document their work with a drawing, a series of photos, or a few sentences. Assess the process, reasoning, collaboration, and ability to revise the solution, as well as the final result. Brazil’s Base Nacional Comum Curricular (National Common Core Curriculum), available on the Ministry of Education website, provides a framework for connecting projects to the competencies and skills set for each grade level.
Project Ideas for Early Childhood Education and Elementary School
In early childhood education, short, open-ended activities work best when materials are large, lightweight, and age-appropriate. Students can make characters from cardboard and fabric scraps, build paths for large balls, or create a town from boxes while exploring balance, shapes, and storytelling.
To expand a movement activity, a motor skills course using everyday objects can inspire challenges in which children plan routes and test ways to make them accessible. Avoid small pieces when there’s a risk of swallowing, and adjust the level of support to each child’s independence.
In elementary school, groups can design packaging to protect an object during a controlled drop, make a sound instrument from reused materials, or build a model of an accessible public space. These activities can integrate math, science, language arts, and visual arts. To include students with different abilities, offer a variety of roles, such as drawing, measuring, building, or recording test results.
A group project can also draw on cooperative games: the class sets a shared goal and divides tasks without making speed or competition the main measure of success.
Possible Setups, Assessment, and Next Steps
The format depends on the school’s facilities. A permanent corner lets students leave projects in progress; a mobile cart brings supplies to different classrooms; a shared workshop can serve activities that need a dedicated setup. The maker space at SESI, Brazil’s Social Service for Industry, can serve as an example of maker culture in a structured institutional setting, but each school needs to adapt the scale to its staff and facilities.
The most important constraint is operational: activities involving complex tools aren’t appropriate when training, supervision, or maintenance is lacking. There’s also no single setup that works for every age group and curriculum. Start with low-risk activities, record what works, and expand your supplies in response to educational needs—not pressure to keep up with trends.
A well-planned maker space turns everyday materials into opportunities to develop, test, and support ideas with evidence.
Choose a short challenge for your next unit, gather materials the school already has, and run a pilot with one class. At the end, note where students had to wait, which supplies were missing, and what risks came up; these observations can guide your next purchase and improvements to the space.
Frequently Asked Questions About School Maker Spaces
Can You Set Up a Maker Space Without a Dedicated Room?
Yes. A cart or set of bins can turn a shared area into a creative work station. The key is to establish routines for setup, traffic flow, storage, and returning materials.
Which Reused Materials Are Most Useful to Start With?
Clean cardboard, paper rolls, magazines, fabric scraps, and intact packaging are versatile for prototyping. Check that items are clean and from a known source, and discard anything with sharp edges, residue, or an unknown history of chemical exposure.
How Can You Keep the Activity from Becoming Just an Arts and Crafts Session?
Present a challenge with clear criteria and ask students to explain their decisions. Recording tests and revisions connects the building process to the subject matter and makes students’ thinking visible.
Do You Need a 3D Printer or Robotics Kit?
No. These are optional resources that are useful when they support defined learning objectives and staff are available to operate and maintain the equipment. Projects with paper, reused materials, and school tools can also support inquiry and prototyping.
How Can You Adapt a Maker Activity for Different Ages?
Adjust the size of the pieces, level of independence, number of steps, and tools available. Younger children need larger materials and close supervision; older students can plan tests, record data, and explain revisions more independently.
Artigos Relacionados
 Geometry Games: Exploring Shapes and Space at School
 School Toy Library: How to Create an Inspiring Space
 Architectural Accessibility in Schools: How to Adapt Spaces
 Wall-Mounted Herbs: Which Grow Well in Small Spaces?
 Key Metrics: Measure Validation in 7 Days on a Small Budget
 School Partnerships: How to Support Elementary Reading