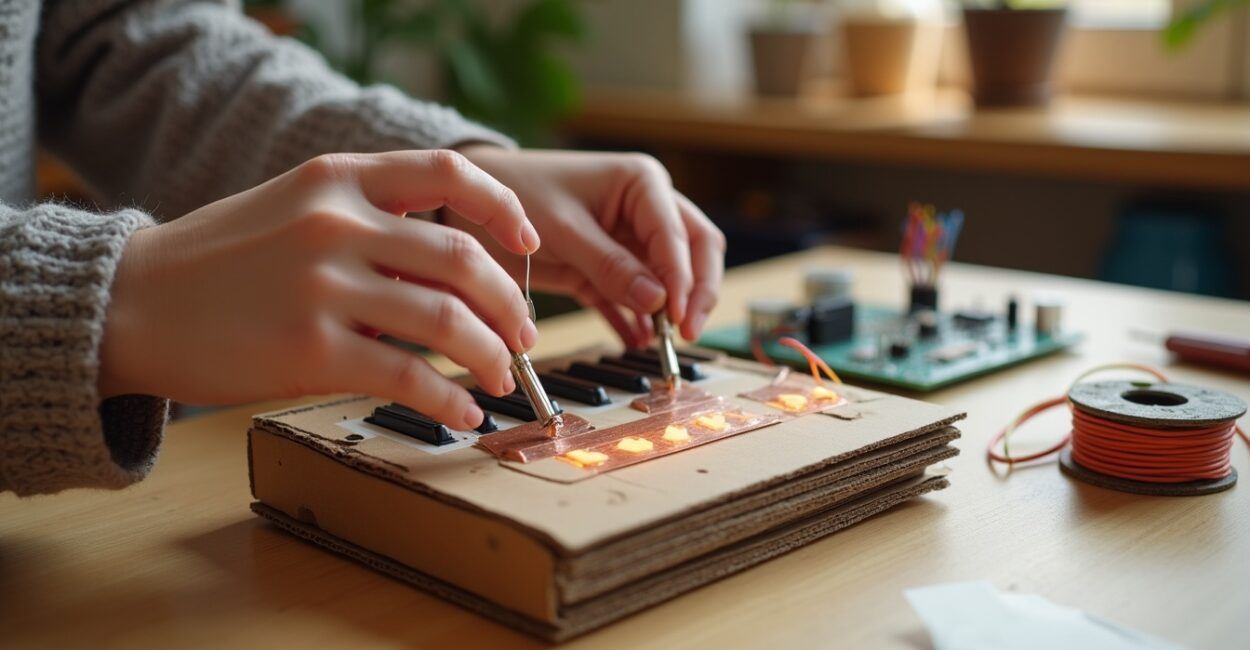
A cardboard box can become a bridge, a stage set, or the first version of a machine. Maker education organizes this kind of exploration so students learn by creating, testing, and improving solutions.
It combines inquiry, design, and building with simple materials or technology, and it can begin in early childhood education.

The challenge is turning an activity into learning: building for its own sake does not always help students develop a concept. A clear goal, room for choices, and time to rethink what did not work make a difference, even in a short project.
Maker Education and Maker Culture in Schools: What They Mean
Maker education is a teaching approach in which students learn by designing, building, testing, and improving something to address a challenge. In maker culture in education, the process includes decision-making, experimentation, and reflection: making an object is part of the activity, but explaining how it works and why it was modified also counts as learning.
A standalone hands-on task can develop coordination and creativity, but it does not automatically become a maker activity. For that, there needs to be a problem or purpose, active student participation, and an opportunity to test ideas. Technology can be part of a project, but paper, cardboard, string, and reused materials work, too. The activity can connect with skills in Brazil’s Base Nacional Comum Curricular (BNCC), the national curriculum framework, such as scientific, critical, and creative thinking, communication, and digital culture. The connection depends on the goals and grade level; consult the Base Nacional Comum Curricular, Brazil’s national curriculum framework, when planning connections to expected learning outcomes.
Principles, Pillars, and Methods of Maker Learning
There is no universal, required list of four pillars of maker culture. One useful framework for planning activities brings together creating, building, sharing, and reflecting.
These principles help ensure that students make decisions, produce a tangible version of an idea, share what they have made, and use test results to think about next steps.
In the classroom, this sequence can be combined with project-based learning, guided inquiry, and prototyping cycles. The teacher poses a question, helps define constraints, and provides tools; students develop solutions and explain their choices.
The teacher’s role does not disappear; it changes, with questions and technical support provided at the right time.
A prototype teaches when students can explain their choices and use test results to guide the next version.
Learning through play also offers useful ideas, especially for younger children. The LEGO Foundation offers resources on play and learning; classroom adaptations should take curriculum goals, age, and available resources into account.
Maker Culture in Early Childhood Education and Beyond

In early childhood education, exploration needs to suit children’s hands, attention spans, and safety needs. Large blocks, boxes, fabric, and modeling dough let children build and transform things without relying on complex tools. Adults prepare the space, name the materials, and help children notice what happens without deciding every step for them.
In the elementary grades, challenges like building a tower that can hold a book let students compare shapes and talk about balance. In middle and high school, projects can incorporate electronics, programming, user research, or data analysis. At every age, it helps to adjust the level of independence: offering a choice between two materials can be a good starting point for students who are not yet able to plan every step.
UNESCO views learning as a process that requires opportunities for participation and skill development, but it does not provide a one-size-fits-all recipe for maker activities. Schools differ in their available space, time, and technical support, so activities should be scaled to the class’s actual circumstances.
Leia também: Big Data in Education: Turning Data Into Better Teaching Practices
Maker Education Examples and How to Choose a Project
Maker projects can grow out of needs close to home: creating a tactile instrument, building a paper bridge, automating an alert with a sensor, or programming a quiz. To choose a project, start with what students should learn, then select materials and tools. The table compares options; times are planning estimates and vary based on the group’s experience.
Suggested age group Goal Duration Materials Safety considerations Early childhood, with adult support Explore balance and shapes 20–40 min Large blocks or boxes Avoid small pieces and sharp edges Elementary grades Test the strength of structures 30–60 min Paper, tape, and books for testing Limit the height and keep the testing area clear Elementary and middle school Explore circuits and interaction 20–45 min Makey Makey, computer, and conductive objects Use equipment in good condition and keep hands dry Middle school Build and revise a mechanism 30–60 min LEGO pieces or similar building blocks Keep small pieces away from younger children Middle and high school Develop logic and communication 30–60 min Computer or tablet and Scratch Plan for shared use of devices
If your goal is to observe inquiry, choose a challenge with more than one possible solution. If class time is limited, narrow the scope and set aside a few minutes to test and discuss the results. A project involving risks or tools that are hard to supervise is not a good choice just because it seems interesting: simplify the process or choose different materials.
Read also: Maker Education: The Power of Making and Experimenting to Develop Critical Thinkers
Projects with Cardboard, Makey Makey, LEGO, and Programming
Tactile Cardboard Instrument
Materials: cardboard, conductive tape, paper clips, batteries, and a small speaker; hot glue should be handled by an adult only. Time: 45 to 90 minutes. Difficulty: easy, with supervision. Create touch surfaces in different shapes and textures and explore how contact changes the response. Aluminum foil can replace conductive tape in a simple version, as long as the connections are secure and insulated when necessary.
Before building, agree on a question to guide testing, such as “Which contact shape is easiest to activate?” This helps keep the class from spending the whole lesson just decorating the instrument. Electrical components and hot glue require adult supervision.
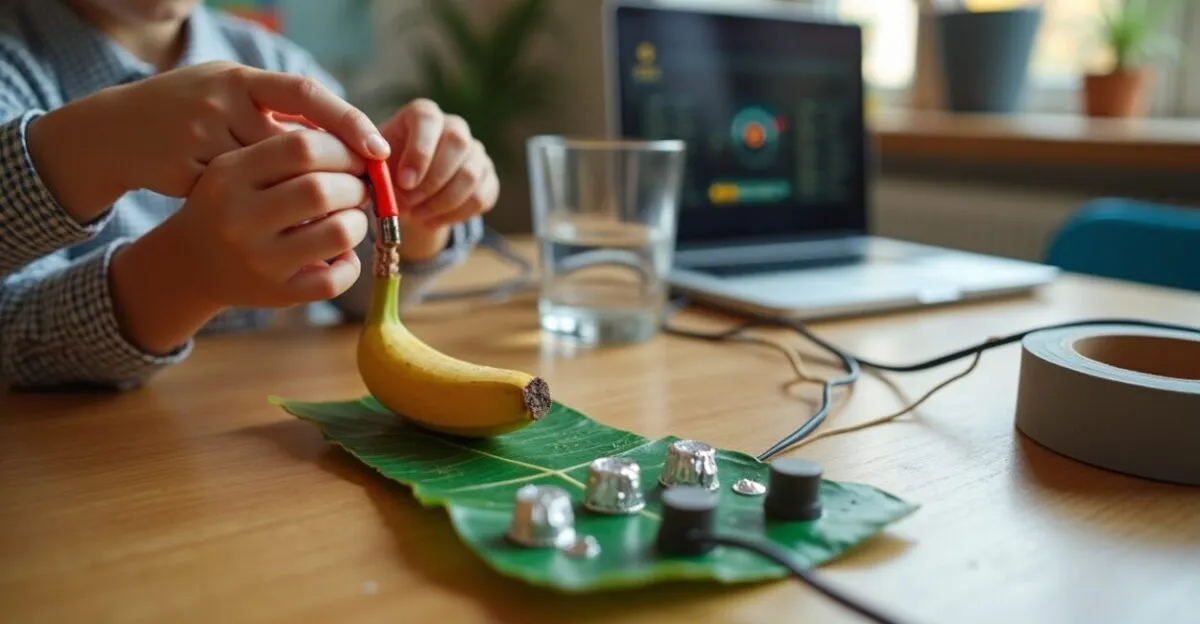
Makey Makey with Everyday Objects
Materials: Makey Makey kit, USB cables, computer, and conductive objects, such as fruit or water in a stable container. Time: 20 to 40 minutes. Difficulty: easy to intermediate. Connect the kit to a computer, assign the terminals to keyboard commands, and test each object with a digital activity. To keep costs down, students can first draw the circuit and simulate the interaction before using the equipment.
A banana or a leaf does not “control” the computer on its own: the circuit needs to be completed through the participant’s contact and the proper connection. Keep liquids away from equipment, use dry hands, and follow the manufacturer’s instructions. One possible challenge is to create a game controlled by objects made from reused materials.
Quick Prototypes with LEGO
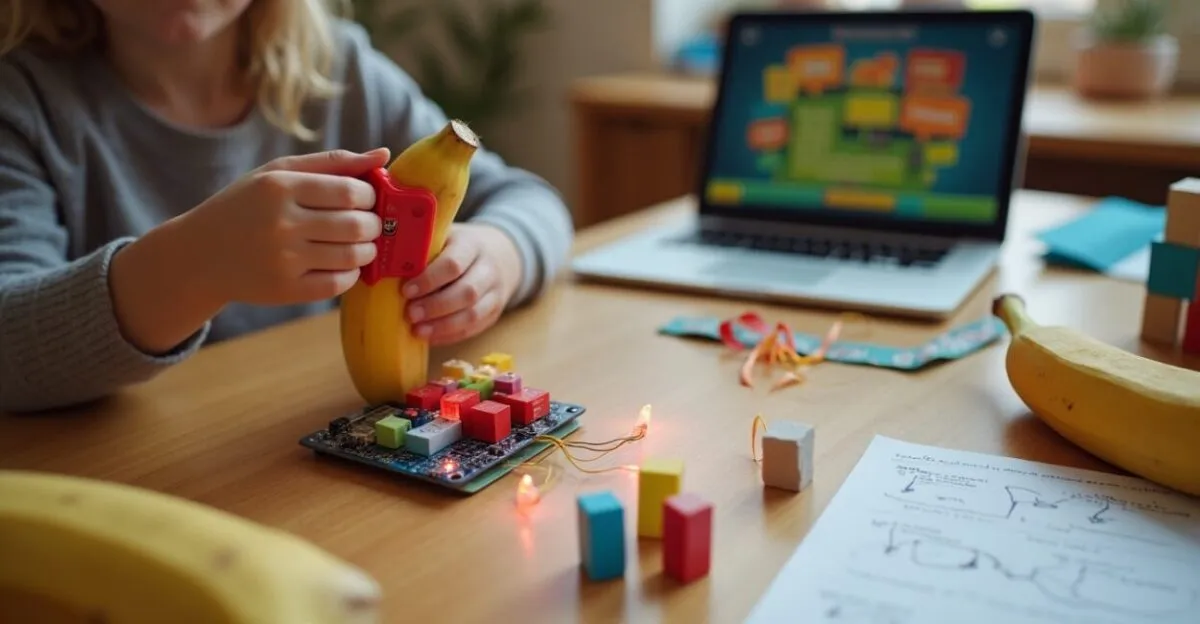
Materials: LEGO or equivalent interlocking blocks and a sheet of paper for sketching. Time: 10 to 15 minutes for a structure, 20 to 40 minutes for a moving mechanism; a more elaborate product may take 60 minutes or longer. Difficulty: adjustable. Ask students to sketch their idea, build a first version, and identify what needs to change before building again.
The initial sketch does not need to be neat or detailed. Its purpose is to help students anticipate the pieces, dimensions, and moving parts. If LEGO is not available, small boxes, paper rolls, and clothespins can be used to test form and function, though they offer less precision for mechanisms.
Block-Based Programming
Materials: computer or tablet and a visual programming environment, such as Scratch or MakeCode. Time: 30 to 60 minutes. Difficulty: intermediate for beginners. Instead of saying “learn to program,” define an observable action: create a quiz that responds to a choice or an animation that reacts to a command.
Combine programming with a physical object when there is enough equipment and time to explore the connection between input and response. For example, Makey Makey can trigger commands in a Scratch project. Without a kit, students can program an interaction using a keyboard or mouse and discuss how the experience would change with a physical controller.
Creative Recycling, Sustainability, and Safety
Boxes, paper tubes, fabric scraps, and clean packaging can become stands, toys, or parts of prototypes. Choosing materials also teaches students to consider durability, where materials come from, and whether they can be reused. Sort materials before class: packaging with residue, broken glass, sharp-edged cans, and materials from unknown sources should not be brought into the work area.
A cardboard lamp with a circuit requires more care than a toy without electricity. Use low-voltage batteries, avoid wall outlets, and leave hot or sharp tools to an adult. At the end, take apart the prototype when possible, recycle parts accepted by local recycling programs, and dispose of batteries and electronic components at appropriate collection sites.
Using scrap materials does not automatically make an activity sustainable: transportation, safety, and end-of-life disposal matter, too. If you cannot verify where a material came from or clean it properly, replace it with new paper or reusable classroom supplies.
Assessment, Documentation, and Mistakes That Discourage Students
Assess students’ reasoning and decisions throughout the project, not just the appearance of the final object. A solution that fails its first test can still demonstrate learning if a student identifies the cause, records a change, and explains what they expect to see in the next version.
Use a brief record, such as a drawing, an authorized photo, an audio recording, or a test sheet. Ask each group to note the goal, one attempt, the observed result, and the next change. These records help distinguish an intentional choice from a random change and give the teacher evidence to guide the discussion.
- Goal: Can the student explain what they tried to solve?
- Process: Do they record decisions or compare at least two attempts?
- Revision: Do they use a test result to modify the prototype?
- Communication: Can they justify a choice based on what they observed?
A common mistake is to provide a finished model and ask everyone to reproduce it. This usually limits choices to finishing and assembly, leaving little room for inquiry. Another problem is proposing a challenge that is too broad for the time available: narrow it to one function, test it, and expand the project in a later class.
As a planning reference, the field of psychology can help frame discussions about motivation and learning, but it does not replace teaching goals or observing the group. Responses to an activity depend on age, prior knowledge, teacher support, and opportunities to participate.
Frequently Asked Questions
Does a school need a maker lab?
No. A table, accessible materials, and a well-defined challenge are enough to get started. Specialized equipment expands some possibilities, but it is not required for learning through creating and testing.
How can you adapt an activity for students with different needs?
Offer more than one way to participate, such as drawing, building, documenting, or explaining. Adjust tools and materials with support from the school team and by following accessibility guidance relevant to each student.
How can you organize groups so no one is left out?
Assign responsibilities that can rotate, such as building, testing, documenting, and presenting. Agree from the start that the group will discuss project decisions rather than leaving them to students who are already familiar with the materials.
Does a maker project need to end with a presentation?
Not necessarily. A brief demonstration or a record of the process can make choices and tests visible. A presentation is useful when there is an audience or a question students need to answer, but it should not take time away from building and revising.
How can you find activities to use with a textbook?
Use the textbook to identify concepts and curriculum goals, then supplement the lesson with materials that let students test ideas. The project should connect to the content being studied and meet the class’s safety needs.
Artigos Relacionados
 Transformative Education: Practices That Change Lives Today
 Project-Based Learning: How to Get Started Today
 Renewable Energy: Why Solar Projects Fail Today
 Transformative Habits: 5 Routines to Start Today
 Maker Education: The Power of Making and Experimenting to Develop Critical Thinkers
 Effective Literacy Instruction for Young Learners Today