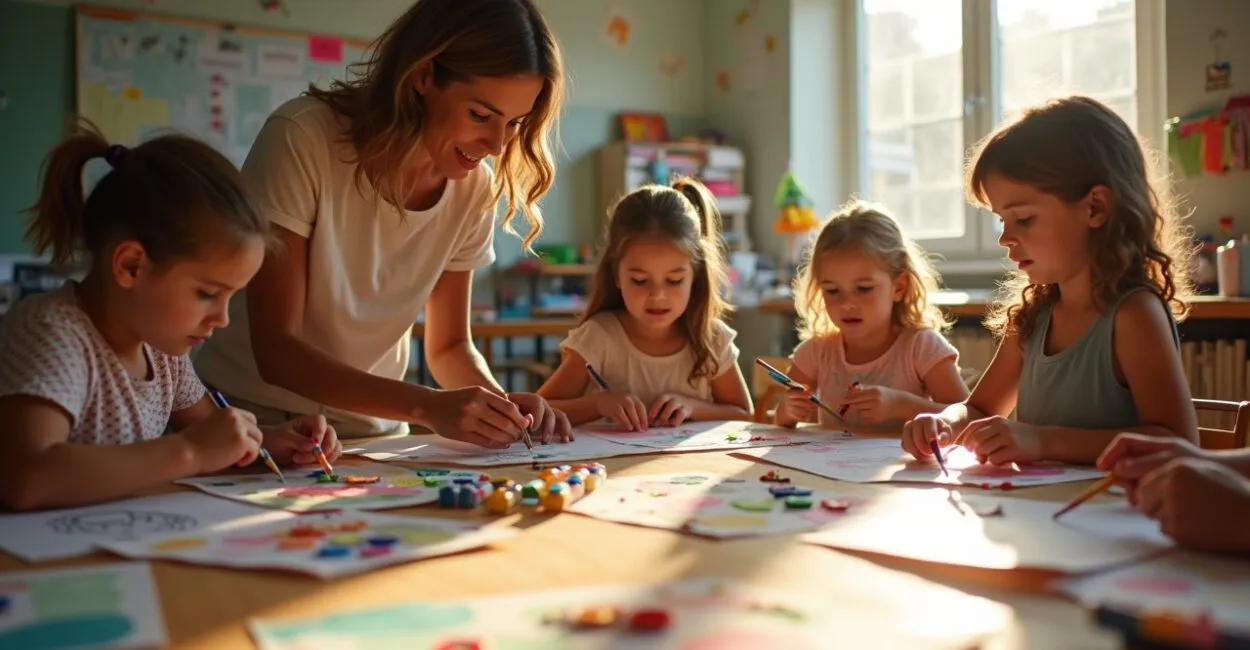
The prettiest card isn’t always the most elaborate. In a school setting, what tends to be truly moving is something a child can make with independence. When it comes to Mother’s Day cards in elementary school, the best approach is usually simple, well-guided, and open to personal touches. This reduces frustration, recognizes students’ effort, and makes the final message feel more genuine.
In practice, the activity works best when the teacher balances three things: time to complete it, students’ fine motor skills, and opportunities for personalization. Here, you’ll find ideas that work from kindergarten through fifth grade, easy-to-find materials, age-appropriate formats, and ways to avoid projects that look great in theory but are too difficult to make in class.

Quick Summary
- A good classroom Mother’s Day card should match students’ actual abilities, not an adult’s imagined ideal.
- Projects with simple folds, collage, and free drawing tend to work better than ones that require complex cutting.
- Adding the child’s name, a short message, and a specific memory makes the card much more meaningful.
- Class time shapes the project: activities that take 20 to 40 minutes call for different approaches than those that fill an entire class period.
- In elementary school, a polished finish matters less than a legible message and the child’s participation.
Mother’s Day Cards in Elementary School: How to Choose the Right Design
Start with the basics: a classroom card is a piece of heartfelt communication made from folded paper, with a short message and handmade details. In everyday language, that means a small gift students can make in class without turning the activity into a tiring project or one that depends on expensive supplies.
Anyone who works with elementary school students knows that the right design depends less on how “pretty” it is and more on whether students can actually make it. If a project requires fine cutting, lots of symmetry, or several layers of collage, second graders may struggle. If it’s too simple, fifth graders may find it childish.
The right balance changes with age, and that’s the difference between an activity that engages students and one that turns into a lesson in fixing craft mistakes.
In practice, a card works when a child can finish it without too much help. When an adult does almost everything, the result may look nice, but it loses its educational and emotional value.
What to Consider Before Choosing an Activity
Before choosing a design, consider four things: available class time, students’ fine motor skills, access to materials, and how independently they can write. Kindergartners and first graders do better with guided drawing and collage, while original messages and freer visual designs tend to work well in fourth and fifth grade. This assessment helps avoid last-minute improvisation and keeps the lesson on track. It also helps to think about what the card should say. For many students, the hardest part isn’t making the card; it’s writing something heartfelt without repeating “I love you, Mom” on every page. A short sentence starter, such as “Thank you for taking care of me,” helps the activity flow more naturally.
Easy-to-Find Materials That Work in the Classroom
You don’t need expensive supplies for this activity. Sturdy paper, glue, colored pencils, safety scissors, and a finishing touch such as ribbon, craft foam, or simple stickers are usually enough.
In a public school or a large class, it’s best to use materials most students already know how to handle without needing one-on-one guidance every minute.
In the classroom, printer paper works for drafts, but poster board, colored cardstock, and kraft paper give the finished card more structure. Brazil’s Ministry of Education provides resources and guidelines that emphasize the importance of activities suited to students’ age and learning goals. That’s a good fit for a hands-on project: it should be simple enough to complete during class and meaningful enough to be worthwhile.
Basic Supply Kits by Grade
- Kindergarten and first grade: folded paper, glue, crayons, pre-cut shapes, and stickers.
- Second and third grade: poster board, colored pencils, scissors, markers, and simple templates.
- Fourth and fifth grade: sturdy paper, decorative ribbon, a ruler, an envelope template, and basic lettering supplies.
If the school has a printer, you can include a basic template or frame for the card. If not, that’s fine: a hand-drawn design often feels more authentic. A common mistake is using too many materials. That raises costs, slows production, and distracts students from the main goal: the message.
Simple Ideas for Folding, Collage, and Drawing

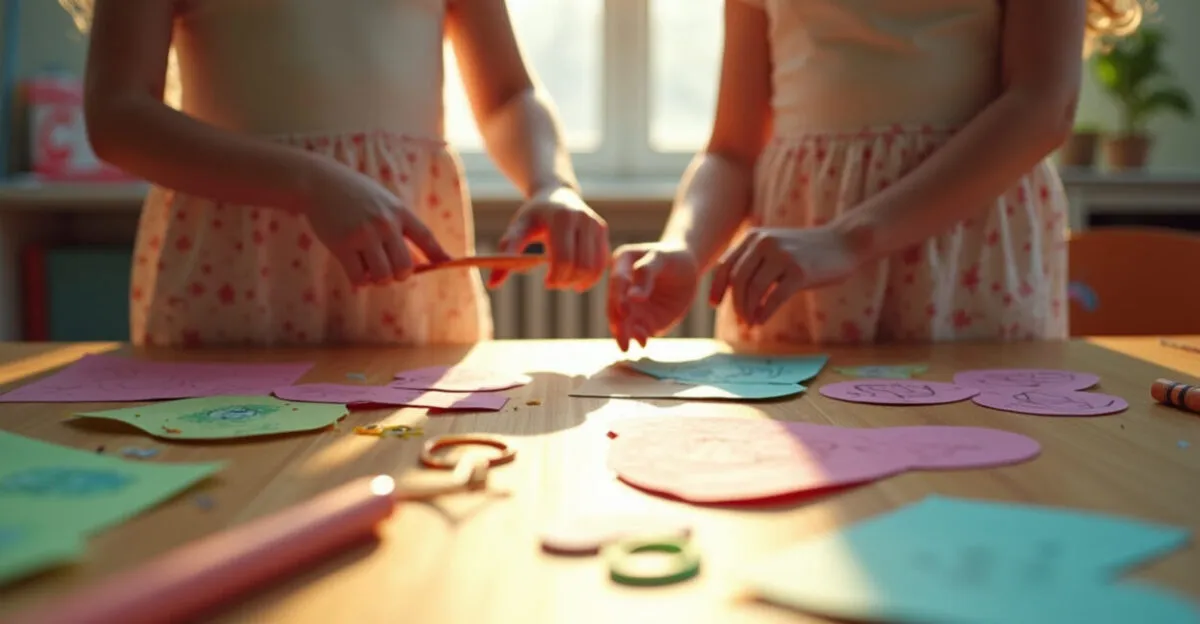
The designs that work best in elementary school combine a predictable structure with visual freedom. Students understand the steps but can still put their own stamp on the finished card. That’s why heart, flower, pocket, or envelope-shaped cards are usually a hit: the basic structure is already in place, and children add color, a message, and personal details.
Four Designs That Rarely Miss
- Flower-shaped card: Each petal has a word that shows affection, such as “strength,” “hugs,” or “care.”
- Folded card with a window: The cover hides a surprise message inside.
- Pocket card: The child slips a small note inside, making the card more personal.
- Hand-tracing card: Great for younger students because it connects the gift to the child’s own hand.
I’ve seen the simplest card become the one a family treasured most. A second grader made nothing more than a folded sheet of paper, a wobbly drawing of flowers, and a short sentence dictated to the teacher. Nothing fancy. Even so, the student’s mother took the card to work and showed it to everyone because she recognized her child’s work in it. This kind of response is common when the project is age-appropriate and doesn’t try to compete with professional work.
What makes a classroom card memorable instead of “pretty but empty” isn’t the finish. It’s an original message, however short, connected to a specific memory.
For broader educational perspectives on creativity, fine motor skills, and early writing, SciELO features Brazilian research on education and child development that helps explain why well-guided hands-on activities have real value in the classroom.
How to Adapt the Activity by Grade Without Overcomplicating It
Not every card project should have the same level of difficulty. In elementary school, the activity should match the group’s artistic and writing skills. A design that works in fifth grade may confuse kindergartners, and the reverse is also true: if the project feels too childish, older students quickly lose interest.
Grade
Main focus
Recommended support
Kindergarten and first grade
Fine motor skills and recognizing words that express affection
Ready-made templates, short sentences, and guided collage
Second and third grade
Visual organization and simple writing
A basic template with room for personal touches
Fourth and fifth grade
Original work, creativity, and more developed communication
More freedom to create and write independently
Small Changes That Make a Difference
In kindergarten and first grade, reduce the number of steps and provide pre-cut shapes. By second and third grade, students can usually handle more of the activity on their own, so a simple folded card with space for a short poem works well. In fourth and fifth grade, the card can become a writing project: draft the message, revise it, choose colors, and create the final design. This sequence gives the work more purpose and avoids the familiar “just slap it together so I can turn it in” approach.
One important thing to keep in mind: not every class responds the same way. Some groups work quickly, while others need more support with writing or fine motor skills. In that case, adaptations need to be meaningful, not just for show. If the card becomes a test of perfection, the activity loses its fun and no longer serves its educational purpose.
Natural-Sounding Phrases, Messages, and Short Notes
The message should be short, warm, and sound like a child wrote it. Long sentences often feel unnatural when written by young students, while overly generic messages don’t leave much of an impression. A good approach is to combine a sentence starter with a personal detail: “Mom, thank you for…” followed by something the child actually experiences at home.
To add a language-learning element, the teacher can ask students to include an action verb, a memory, and a word that expresses affection. This helps students move beyond automatic responses and gives them a short writing exercise. It also works well for teaching basic punctuation and paragraph beginnings in older grades.
Ready-to-Use Prompts That Still Feel Personal
- “Mom, I love you because you help me every day.”
- “Thank you for taking care of me and teaching me.”
- “Your hugs are my favorite place to be.”
- “You make my life happier.”
- “I love it when you read with me.”
In larger classes, it’s worth offering a variety of prompts to avoid identical cards. This also helps the project feel less like mass production. To add a literacy component, ask each child to choose a word from a list of affectionate words—kindness, care, courage, joy—and build a message around it.
How to Plan the Class and Avoid Last-Minute Problems
Lesson planning often determines whether the card-making activity feels celebratory or rushed. Ideally, divide it into three parts: a brief explanation, guided work, and finishing touches. This keeps half the class from sitting around waiting while the other half finishes early with nothing to do.
A Practical 30- to 50-Minute Plan
- Show the design and a finished example.
- Hand out materials and explain the steps.
- Guide students through assembling the card before they write the message.
- Save the last few minutes for signing and reviewing the card.
In practice, the biggest challenge isn’t the activity itself; it’s the logistics. Not enough scissors, too many students sharing glue, and no time for the paper to dry can create unnecessary chaos. If possible, let cards dry on a separate table or save the finishing touches for the end of class. This helps prevent smudges and tears.
Another useful tip: have an extra activity ready for students who finish quickly. It could be a message on the back, a border, or an additional note. That way, no one is left waiting, and the class stays on track. These small details make a real difference in a large class.
What Makes a Card Worth Keeping
The card that ends up in a kitchen drawer or on the fridge usually has three things: a simple design, a sincere message, and the child’s own touch. Those are what give it emotional meaning. A flawless finish alone won’t sustain its sentimental value for long.
This idea reflects a familiar principle in education: a project becomes more meaningful when a child recognizes it as their own work. UNICEF Brazil emphasizes the importance of meaningful experiences in childhood, and emotionally meaningful classroom activities often get a positive response because they connect learning, relationships, and personal expression. This won’t apply in exactly the same way to every child—it depends on family circumstances and the group’s experiences—but the general principle holds.
If the goal is to make someone smile, too many decorations can get in the way. The right gesture in the right format is worth more than three layers of paper. And in elementary school, that’s one of the most useful lessons: the activity needs to fit in a child’s hands before it fits an adult’s imagination.
Next Steps for Planning a Successful Activity
The best approach is to choose a design, test it with a small sample, and adjust the difficulty before making cards with the whole class. For Mother’s Day cards in elementary school to work well, the project needs to respect students’ ages, class time, and each group’s independence. When these three factors line up, the activity becomes more than “just another little gift” and turns into an experience children truly recognize as their own.
Before you begin, check three things: the estimated time, how clear the instructions are, and whether there’s room for personalization. If any of these fall short, simplify the activity. In classroom projects, the details that seem minor during preparation are often what keep things running smoothly.
Frequently Asked Questions
What’s the Best Card Design for Elementary School?
The best design is one students can complete with an age-appropriate level of independence. In the early grades, simple folds, collage, and drawing tend to work better than complex designs. From second through fifth grade, you can add original writing and more visual freedom. The main goal isn’t sophistication; it’s balancing ease, class time, and opportunities for personalization.
What Supplies Are Essential for Making These Cards at School?
The most useful supplies are sturdy paper, glue, safety scissors, colored pencils, and markers. Ribbon, stickers, and pre-cut shapes can help with finishing touches, but they’re optional. In many classes, fewer supplies mean less confusion and more participation. The key is to make sure every child can put together a card without relying on expensive or hard-to-distribute resources.
How Can You Adapt the Activity for Kindergarten and First Grade?
In this case, it’s best to reduce the number of steps and provide more visual support. Projects with ready-made templates, large cutouts, and short messages work much better than ones with lots of details. Young children need to feel that they can finish on their own or with very little help. If the card is too challenging, the activity loses momentum and stops being about the heartfelt experience.
Which Phrases Sound Most Natural on Children’s Cards?
Simple, specific phrases work better than long or overly formal messages. Expressions such as “thank you for taking care of me,” “I love your hugs,” and “you teach me every day” sound natural in children’s language. You can also include a real memory, such as reading together, making a snack, or getting help with homework. That makes the card feel authentic and keeps the message from sounding generic.
How Long Does It Take a Class to Make a Mother’s Day Card?
A well-planned activity usually takes 30 to 50 minutes, depending on the grade and the complexity of the design. Younger students need more guidance with assembly, while older students may spend more time writing and adding finishing touches. If the design involves complex folding or waiting for glue to dry, allow more time. The best guide is the class’s actual pace, not an optimistic estimate on paper.
Artigos Relacionados
 Elementary School Activities: Creative, Practical Ideas
 Mother’s Day Activities for Elementary School
 Elementary School: A Complete, Practical Guide
 Inclusive Strategies for Students with ADHD: Practical Accommodations and Academic Outcomes for Elementary School Teachers
 How to Improve Reading Skills in Elementary School: Practical, Proven Ways to Build Fluency and Comprehension in the Classroom
 Active Learning Methods for Elementary School: A Practical Guide