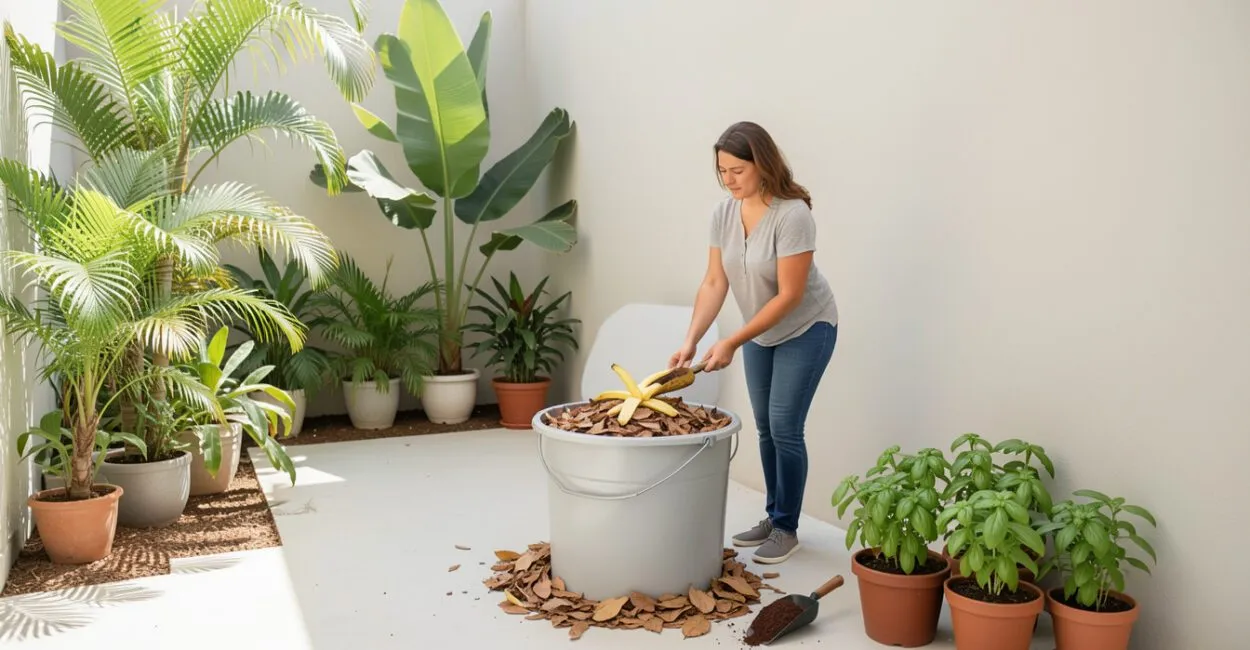
A banana peel can become part of the soil that feeds your next basil plant—but only when it gets the right balance of air, moisture, and dry materials. Home composting turns organic waste into compost for pots and gardens, including in apartments.
The method you choose depends on the space you have and the type of scraps you produce. You can get started with buckets, a worm bin, or a spot in the yard—no specialized equipment required.

The key is to sort what can safely break down, cover wet scraps, and monitor the process before using the material on your plants. With these precautions, a composter reduces organic waste and closes a useful loop in your garden.
Quick Facts
- What it is: The controlled decomposition of organic matter by microorganisms and, in some methods, worms.
- Space: It can be done in buckets, compact composters, or directly in the ground.
- Basic materials: Plant scraps, dry materials, water, and airflow.
- Signs compost is ready: Dark, uniform appearance, an earthy smell, and no easily recognizable scraps.
- Using it in pots: Mix a moderate amount into potting mix; don’t replace the entire growing medium.
What Is Home Composting, and Why Do It?
To get started at home, choose a container that fits your space, alternate moist plant scraps with dry materials, keep the mix as damp as a wrung-out sponge, and allow air to circulate. Leave out meat, dairy, and greasy foods when using a standard bucket system. Once the material is dark, loose, and earthy-smelling, use small amounts in your soil or potting mix. Technically, composting is the controlled biological decomposition of organic waste by microorganisms and, depending on the method, organisms such as worms. The result is a stable material called compost, which can add organic matter and nutrients to soil. Simply put, well-managed plant scraps turn into organic fertilizer—but they need to finish decomposing before they come into contact with plant roots.
The benefit isn’t just putting peels to use. Returning organic matter to your garden reduces the amount of waste sent to the trash and keeps nutrients in the garden’s growing cycle instead of throwing them away.
The U.S. Environmental Protection Agency (EPA) describes home composting as a way to reuse organic scraps and improve soil.
Good compost starts with sorting your scraps and isn’t ready until the material is stable enough to touch the roots.
How to Start Composting at Home, Even with Limited Space
In an apartment, the most practical options are usually a ready-made worm bin, a covered composter, or a modified bucket with planned ventilation and drainage. If you have a yard, a pile or a structure placed directly on the ground lets you handle larger amounts.
To choose a method, consider three things: how much plant waste you produce, where the container will go, and whether you can monitor moisture and airflow.
- Choose a method and location. Pick a shady spot and an easy-to-clean surface. In an apartment, don’t put the container in direct sun or in a room with poor airflow.
- Sort scraps in the kitchen. Chop larger scraps to speed up decomposition, and set aside dry leaves, plain cardboard, or uncoated paper to cover each addition of wet scraps.
- Build balanced layers. Alternate moist materials, such as peels and coffee grounds, with dry, carbon-rich materials. You don’t need an exact ratio for every handful; check the appearance and smell instead.
- Monitor and adjust. If the mix is soggy or compacted, add dry material and turn it if your method allows. If it seems dry, moisten it gradually.
A common mistake is adding a thick layer of kitchen scraps and leaving it exposed. Uncovered scraps attract flies, while too much moisture reduces airflow between materials and can cause unpleasant odors. Covering each fresh addition with dry material prevents many of these problems.
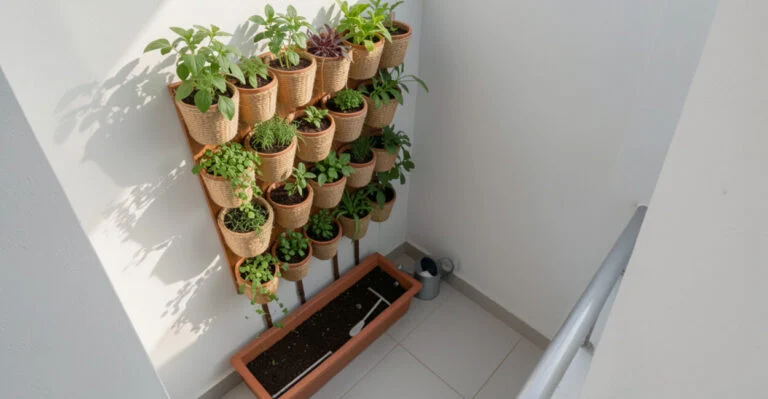
If your composter is near your garden, plan your growing space, too. To make use of a sunny wall, see which herbs grow well in vertical gardens. Compost can support good plant care, but it can’t replace proper light and watering.
What to Add and What to Keep Out

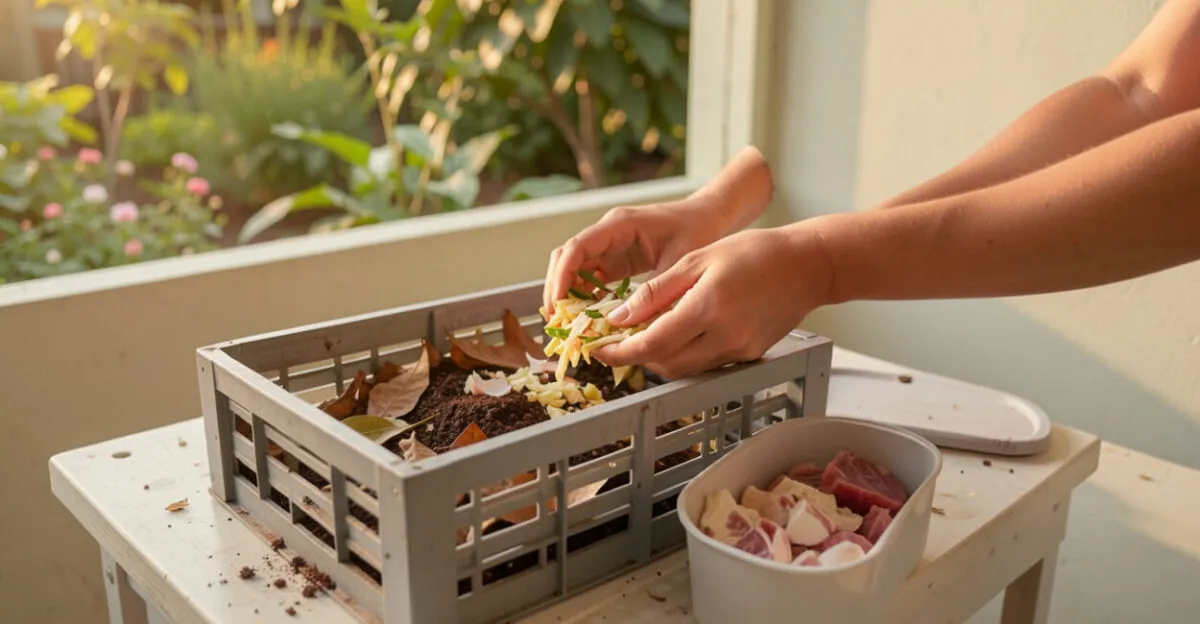
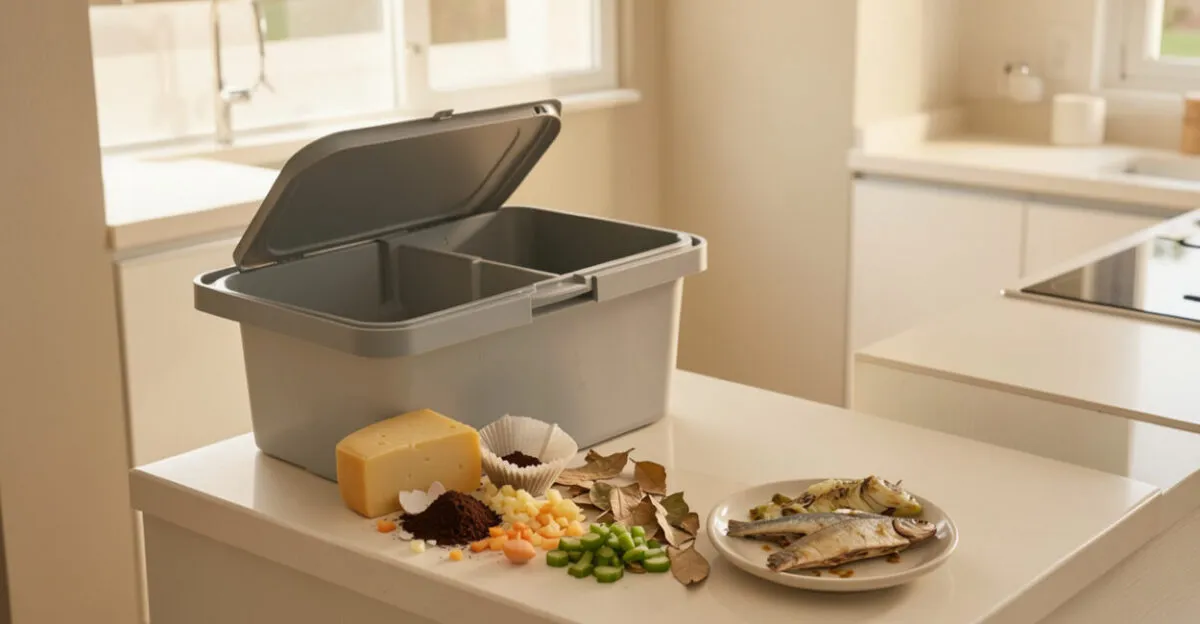
In standard home composters, fruit and vegetable scraps, crushed eggshells, coffee grounds and filters, tea bags without plastic components, dry leaves, and shredded plain cardboard are generally safe additions. Other materials depend on the system: a home worm bin, a hot compost pile, and a closed composter don’t handle grease or animal scraps the same way.
Read also: Biological Pest Control: Protect Your Vertical Garden Naturally
Material
Guidance
Reason or precaution
Fruit and vegetable peels and trimmings
Yes
Chop large pieces and cover with dry material.
Dry leaves, plain cardboard, and uncoated paper
Yes
Helps balance moisture and maintain air pockets.
Coffee grounds and filters, crushed eggshells
Yes, in moderation
Mix them in; avoid adding a large amount all at once.
Meat, fish, bones, dairy, and greasy food
Avoid in basic home systems
They can attract animals and make odor control difficult; use them only in systems designed to handle them.
Dog and cat waste, diseased plants, and materials containing chemicals
Do not add to a garden composter
They could contaminate the compost or introduce unwanted organisms into your garden.
“Compostable” on a package doesn’t always mean an item is suitable for every home composter. Some products require temperatures and processing times that an apartment bucket can’t provide. If you’re unsure, check the manufacturer’s instructions or leave the item out.
Types of Composting: Which Method Fits Your Space?
Composting methods differ mainly in how decomposition happens, how much maintenance they require, and which materials they accept. Worm bins use vermicomposting; aerobic piles rely on microorganisms and oxygen; enclosed and tumbling systems manage the process in containers. The official website of Brazil’s Ministry of the Environment and Climate Change is an official resource for information on waste and environmental management in Brazil.
Read also: Recycled Pots for Vertical Gardens: How to Choose
Method
Where it works best
What to watch for
Worm bin
Kitchens, laundry rooms, and sheltered balconies
Moisture, shade, and gradually feeding the worms.
Aerobic composting in buckets or bins
Apartments and small yards
Airflow, drainage, and covering with dry material.
Pile or ground-level composter
Yards with space and access to soil
Protection from excessive rain and managing the mix.
“Dry composting” is a term used for systems with little free liquid and plenty of dry material, but it doesn’t mean the mix should be dehydrated: biological activity still requires moisture. “Crazy bucket” usually refers to homemade setups using stacked or perforated buckets. The name varies, so check that the design has adequate ventilation and drainage before following a tutorial.
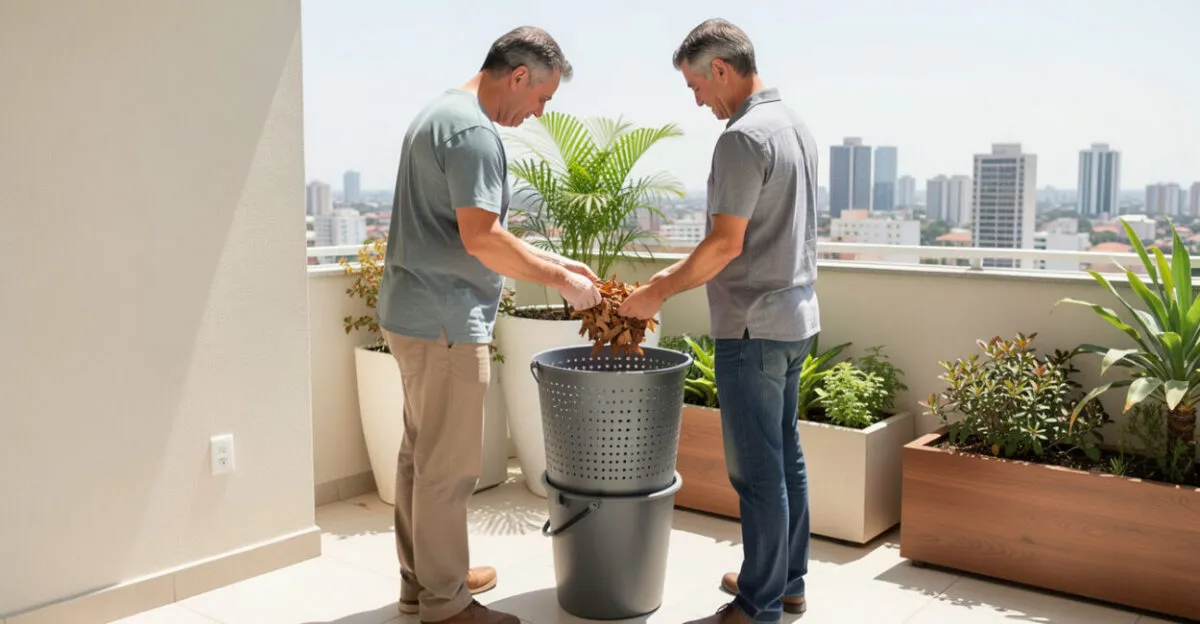
How to Make a Composter with a Bucket or Directly on the Ground
Using Buckets
Use clean buckets designed for storing materials, with no chemical residue. A simple setup may have a collection container on the bottom and other perforated buckets for scraps. The holes should allow airflow and controlled drainage without letting the mix escape. Keep a lid on to protect against rain and insects, but don’t seal the system so tightly that it can’t exchange air.
Start with a layer of dry material, add small amounts of chopped scraps, and cover each addition. If you’re using worms, follow the recommended capacity for the worm bin and increase feed gradually. Liquid collecting at the bottom doesn’t mean the compost is ready; excess liquid may signal poor drainage or a soggy mix, and it shouldn’t automatically be treated as safe fertilizer.
On the Ground
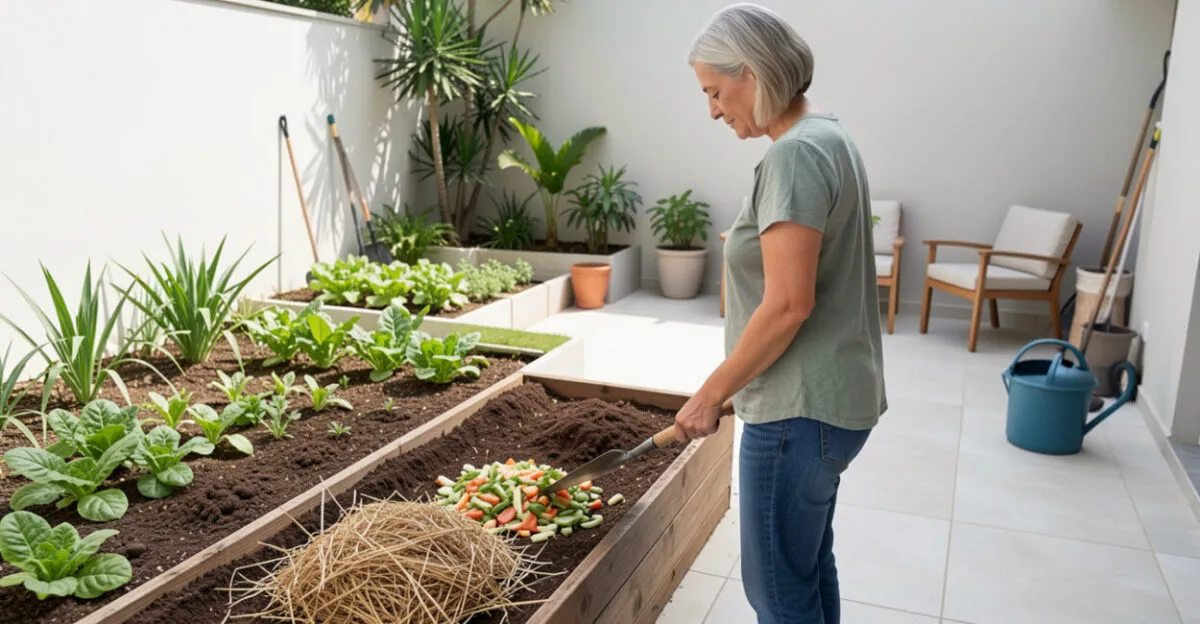
Choose a shady spot with good drainage, away from areas where rainwater collects. Start with a base of small branches or dry material, alternate plant scraps with leaves and other dry materials, and cover the pile to limit rain and keep animals out. If the ground allows, contact with the soil makes it easier for decomposers to move in.
There’s no universal timeline for finished compost: volume, scrap size, temperature, moisture, and how often you add air all affect the process. Even when the top looks dark, the center may still contain fresh scraps. Let the material finish curing before mixing it into potting mix for seedlings or potted plants.
How to Maintain Your Composter and Fix Common Problems
The material should feel damp to the touch but shouldn’t release water when squeezed. This is a more useful guide than watering on a schedule because rain, airflow, and the type of scraps all affect how much water is needed. In aerobic systems, turning the mix helps when it’s compacted; in worm bins, make changes gradually to avoid stressing the worms.
- Bad smell: Usually indicates too little air, excess water, or too many wet scraps in one spot. Add dry leaves or shredded cardboard, mix gently, and hold off on adding more scraps until the odor fades.
- Flies: Cover fresh scraps with dry material, close the lid without blocking airflow, and avoid leaving fruit exposed. A fine mesh screen may help if the container still allows good airflow.
- Dry mix: Spray on water gradually and mix without making it soggy.
- Slow decomposition: Chop scraps more finely, check moisture, and make sure air can circulate.
Odor control has its limits: if meat, oil, or dairy has been added and pests have shown up, covering the material may not solve the problem. Remove the problematic material, clean the affected area, and adjust the system. A home composter doesn’t sterilize waste, so diseased plants and animal waste shouldn’t go into compost intended for the garden.
How to Use Compost in Pots and Vertical Gardens
Use compost only once it has stabilized: it should be dark, loose in texture, and earthy-smelling, with no noticeable heat or large amounts of fresh scraps. If you can still recognize peels or smell fermentation, let the material decompose longer. Timing varies by method, so appearance and smell are more useful indicators than a set number of days.
In pots, mix a moderate amount into the potting mix or spread a thin layer on the surface, keeping it away from the stem. Don’t replace all the potting mix with compost: it may retain water and concentrate nutrients in a way that’s unsuitable for some plants. To be safe, start with a small amount and watch how the plant responds before adding more.
Drainage deserves special attention in planters and vertical garden modules: too much compost can keep the container wet longer and lead to waterlogged roots. Adjust watering after applying compost, and check the instructions for watering a vertical garden without waterlogging the roots. To choose plants suited to your container, see these plants for a vertical garden in an apartment.
Next Step: Start with a Small Batch
Save fruit and vegetable scraps, coffee grounds, and dry leaves for a few days. Then choose a container that fits your available space and build the first layer. If the system will be indoors, choose a covered composter or a well-ventilated worm bin. Check the moisture and smell before increasing the volume; these signs will tell you whether the method works for your routine.
Can I Add Citrus Peels to the Composter?
In general, small amounts of lemon, orange, and other citrus peels can go into home composting systems. Chop them up and mix them with the other scraps. Avoid adding a large amount at once, especially to worm bins, and monitor how the system responds.
Can Finished Compost Be Used on Any Plant?
Compost can benefit many plants, but the amount and application method vary by species and potting mix. Plants sensitive to excess nutrients and young seedlings need extra care; start with a light mix and monitor their growth.
Does the Minecraft Composter Work Like a Real One?
No. In Minecraft, the composter is a game block used to turn certain items into bone meal. This mechanic doesn’t describe biological decomposition or explain how to set up a home composting system.
Artigos Relacionados
 Sustainable Living at Home: 7 Swaps to Cut Waste
 Vertical Garden Supports: Compare 5 Models for Your Home
 A Reading Routine at Home: How to Build the Habit Without Pressure
 School Routine: 7 Steps to Study Without Arguments at Home
 Home Gardening: How to Grow Your Own Food in a Healthy, Affordable, and Sustainable Way
 Sustainable Vertical Garden: Build One in a Small Space