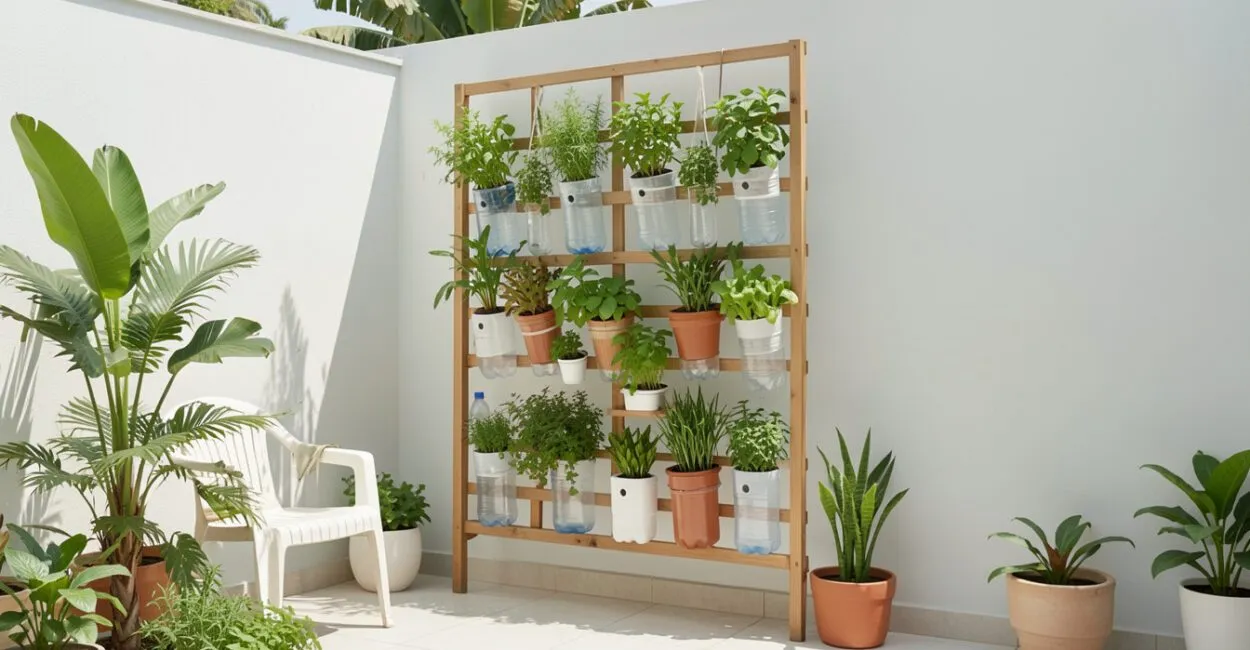
A plastic bottle can become a functional planter, but only if water can drain out and the container can support the weight of the plant and potting mix. Recycled planters are repurposed containers adapted for growing plants, such as bottles, jugs, and cans. To choose well, consider the material, root size, drainage, and where the planter will go.
These details matter even more in a vertical garden: waterlogged containers can harm plant roots, and weak mounting can bring the whole setup down. Two- and five-liter plastic bottles work for different purposes; jugs can also be suitable if they’re clean and in good condition. The best project is usually the easiest to maintain. Read on to learn how to choose a container, drill holes without deforming it, and adapt each option safely.

Before You Begin
- Set aside containers from a known source that have no chemical residue.
- Decide which plants will go in each container and allow for root growth.
- Choose where to install the planters and check that the structure can support their weight when wet.
- Have a drill with a suitable bit or a safe hand tool, along with gloves and eye protection.
1. Which Containers Can Be Turned into Recycled Planters?
Plastic bottles, water jugs, rigid food containers, and rust-free cans can become planters as long as they’re clean, intact, and have enough room for the plant. For a vertical garden, choose lightweight containers that are easy to secure, such as plastic bottles and jugs. Glass containers can be used on stable surfaces, but they’re not a good choice for hanging.
The recycling symbol identifies the type of plastic, but it doesn’t, by itself, confirm that a container is suitable for growing plants. If you’re unsure what it held, don’t use it as a planter. The U.S. Environmental Protection Agency (EPA), which oversees solid waste management, offers general guidance on waste prevention and disposal; when choosing a planter, the container’s source and cleanliness remain essential.
Container Best use Consideration 2-liter plastic bottle Small herbs and seedlings Limited potting mix; requires frequent watering and checks. 5-liter plastic bottle Larger herbs or compact plants It weighs more when full and wet, so the mounting must be strong enough. Rigid plastic jug Plants that need more root space Check for cracks, sharp edges, and what it was used to store. Can A freestanding planter for plants with compact roots It may rust; protect the edges, and don’t use it if it’s deteriorating.
To choose a size, start with the roots: compact herbs may do well in a 2-liter bottle, while a 5-liter bottle provides more room for larger plants. Also review these plants for a vertical garden before cutting the container, since the plant species affects the depth and volume you’ll need.
2. How Do You Choose a Safe Container That Suits Each Plant?
Choose a container based on how much root space the plant will need and how much weight the structure can support. Rigid containers without cracks are best. Do not use containers that held fuel, solvents, pesticides, or concentrated cleaning products, even after washing them.
Food and water containers are more reliable choices when you know where they came from. Wash with soap and water, rinse well, and let them dry. Don’t use a container with a lingering odor, visible residue, or a sticky surface; these signs may mean it wasn’t cleaned well enough.
The size should also suit the plant’s growth habit. An herb seedling can start in a small planter, but a shallow container may restrict growth and dry out quickly. If the plant needs deep roots, choose a jug or another tall container instead of a bottle cut horizontally.
You can find technical information on growing plants and food production on the Embrapa website. Needs vary by species and environment, so the right size for an herb on a shady balcony may not work for the same plant in full sun.
3. How Do You Prepare the Container and Make Drainage Holes?

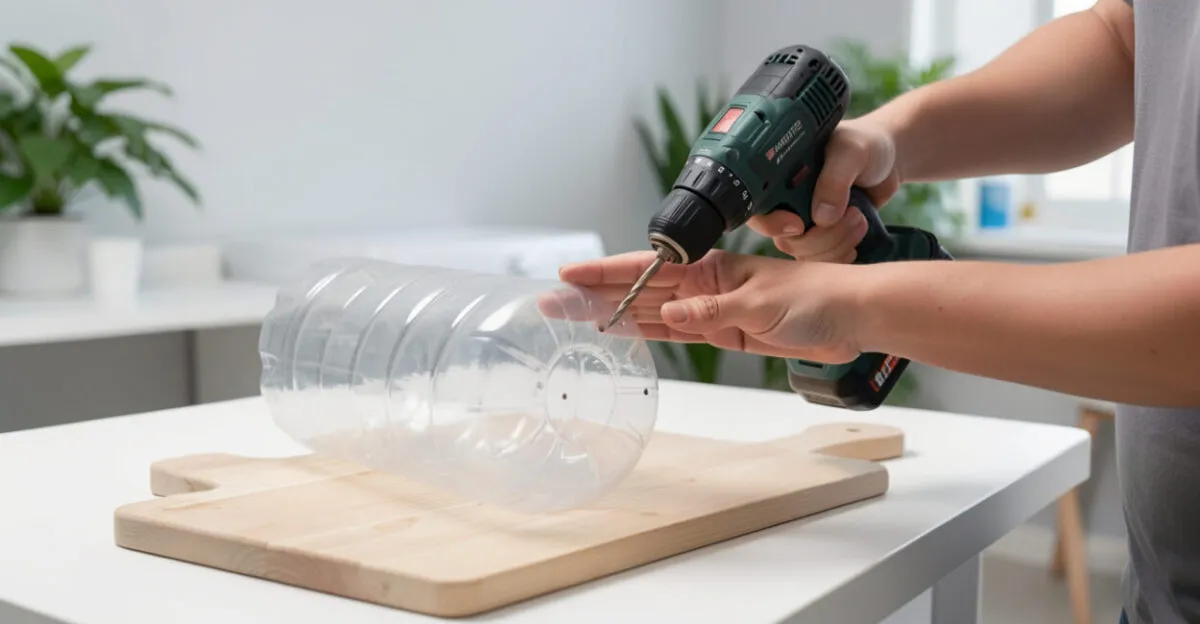
Make drainage holes before adding potting mix. They let excess water escape and reduce the risk of waterlogged roots. For thin plastic bottles, place the container on a firm surface, mark the spots, and use a small drill bit at low speed without applying too much pressure. For rigid containers, use a bit suited to the material.
- Wash and dry the container; remove labels and loose residue.
- Mark holes in the bottom and, if the planter will lie on its side or has a low spot, in any areas where water could collect.
- Drill carefully, keeping the container away from the hand operating the tool. Don’t heat plastic with an open flame, which can deform the container and produce fumes.
- Remove sharp burrs and test drainage by pouring in a little water before planting.
The number and diameter of the holes depend on the container’s shape and material; there’s no single size that works for every container. The test is simple: water should drain without pooling at the bottom. Don’t use a layer of rocks at the bottom as a substitute for drainage holes; rocks won’t solve the problem of water having nowhere to go.
A common mistake is drilling an empty plastic bottle while it’s loose: the wall caves in, the drill slips, and the hole comes out uneven. Supporting the area you’re drilling and taking your time can help prevent cracks. Wear safety glasses, and don’t hold the container directly behind the spot you’re drilling.
Read also: Home Composting: Fertilize Your Garden Without Waste
To learn how container type and watering frequency are related, see these tips on watering a vertical garden and preventing waterlogged roots.
4. How Do You Make a Planter from a 2- or 5-Liter Plastic Bottle?
To make a simple plastic bottle planter, wash the bottle, mark an opening in the shape you want, cut carefully, and make drainage holes before planting. The 2-liter version works best for small herbs or seedlings; the 5-liter version offers more root space but needs sturdier support when full and wet.
Read also: Vertical Supports: Compare Materials and Mount Them Safely
Horizontal Planter from a 2-Liter Bottle
Lay the bottle on its side and cut a long opening along the top, without removing the entire side wall. Make holes on the opposite side, which will face down. The intact sides help hold the potting mix, while the opening makes planting and watering possible.
Larger Planter from a 5-Liter Bottle
With the bottle upright, cut off the top or make a large opening in the side, depending on the plant and where you’ll install it. A 5-liter plastic bottle planter can hold larger plants than a 2-liter one, but that doesn’t automatically make it suitable for deep-rooted plants: usable height and opening size matter just as much as the capacity listed on the bottle.
Example: A 2-liter bottle can hold a young basil plant on a balcony with limited space.
As the plant grows and its roots fill the potting mix, the small bottle will tend to dry out quickly.
In that case, move the seedling to a larger container rather than trying to make up for the limited volume with excessive watering.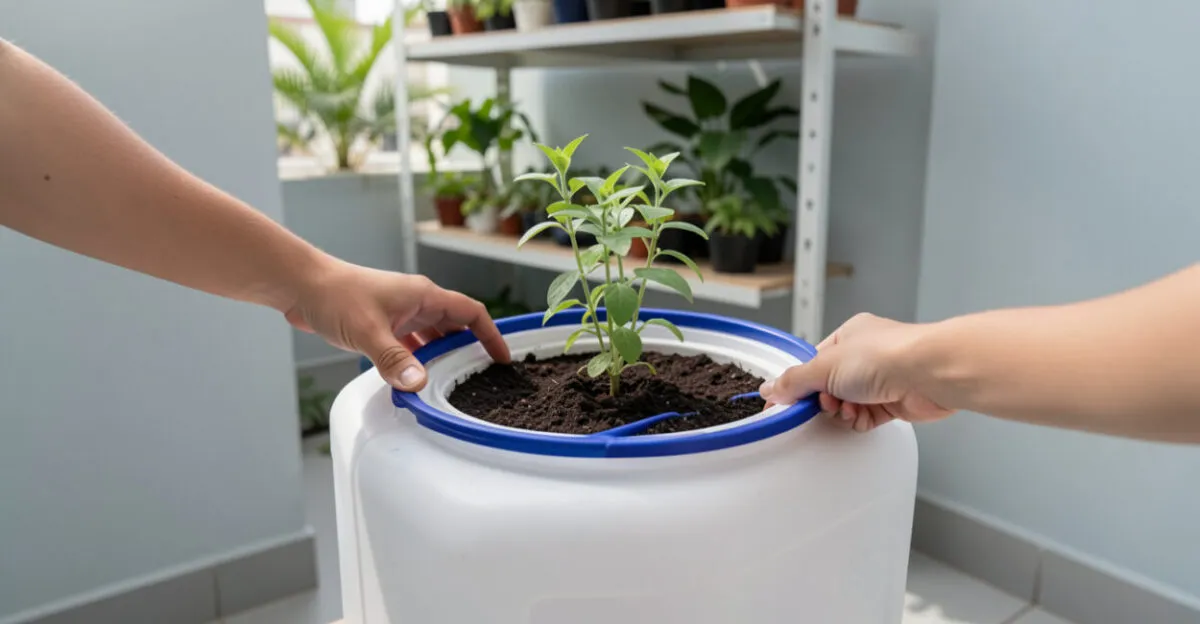
5. How Do You Use Jugs and Fabric Softener Bottles as Planters?
Jugs and fabric softener bottles can be repurposed if the plastic is intact, the source is known, and washing has removed all residue. Remove the cap, cut an opening for planting, and make holes in the bottom. Round off or cover the cut edges so they don’t tear leaves, hands, or support cords.
Five-liter jug planters are useful when a plant needs more potting mix than a smaller bottle can hold. Before hanging one, fill it with water to test its weight and check whether the handles or plastic walls bend. If it seems fragile, keep it on a shelf or sturdy support.
Making a planter from a fabric softener bottle also requires thorough cleaning: fragrance residue may linger, and a container that can’t be washed inside isn’t a good choice for growing food. For edible plants, use containers that held food or water, if available.
6. How Do You Decorate or Hang Plastic Bottle Planters?
To make decorative plastic bottle planters, paint only the outside with paint suitable for plastic, following the manufacturer’s instructions, and keep the drainage holes clear. A decorative finish won’t fix poor drainage or reinforce a cracked wall; test the container with water first, then decorate it.
To hang a plastic bottle, attach the support to reinforced parts of the structure, not to a thin, freshly cut edge. Use cord or zip ties rated for outdoor use, check the knots, and test the load with the container full of damp potting mix. Don’t hang it above walkways if it could fall.
A hanging planter is ready only when its drainage works and its support can hold the weight of wet potting mix.
Glass bottles can be used as planters on a stable surface, but the risk of breakage makes them unsuitable for hanging in a vertical garden. To find herbs that work in a small space, also see how to choose herbs that grow well on a wall.
7. How Can You Extend the Planters’ Life and Prevent Problems?
Prolonged sun exposure can dry out and weaken some plastics, while constant moisture can speed up rusting in cans. Durability depends on the material, its thickness, and the conditions where it’s kept, so check your containers regularly and replace any that are cracked, misshapen, or have dangerous edges.
- Make sure the holes remain clear and water doesn’t collect.
- Check cords, zip ties, and supports, especially after rain or strong winds.
- Redistribute the weight if a container starts to sag or the structure seems unstable.
- Avoid containers from unknown sources and those that held chemicals.
If water runs out through the planting opening or potting mix spills out, make the opening smaller, reinforce the sides, or change the shape of the cut. If the problem is too much moisture, first check that the holes are clear and that you’re watering appropriately for the plant; adding more holes without assessing the whole setup could dry out the potting mix in small containers.
To get started, choose a clean, sturdy container, make a test planter, and see how the water drains before installing it on the wall. Only then make more, taking the wet weight and the amount of sun in the location into account.
Frequently Asked Questions
Can I Put a Saucer Under a Recycled Planter?
Yes, as long as the saucer doesn’t leave the bottom of the planter sitting in water. In a vertical setup, catch the excess water or use a drainage system that won’t wet the wall or the planters below.
Do I Need to Replace the Potting Mix Every Time I Change Plants?
Not necessarily. If the potting mix is in good condition and shows no signs of disease or pests, you can reuse it after removing old roots and replenishing nutrients to suit the new plant.
Can a Small Container Hold Any Seedling?
It can be a starting point for some seedlings, but not all. The species, growth rate, and time until transplanting determine whether the available volume will be enough.
Artigos Relacionados
 Sustainable Vertical Garden: Build One in a Small Space
 Vertical Garden Supports: Compare 5 Models for Your Home
 Small Vertical Garden, Made Easy: A Step-by-Step Guide That Works
 Build a Vertical Garden Today: A 20-Minute Beginner’s Guide
 Vertical Garden Watering: How to Prevent Waterlogged Roots
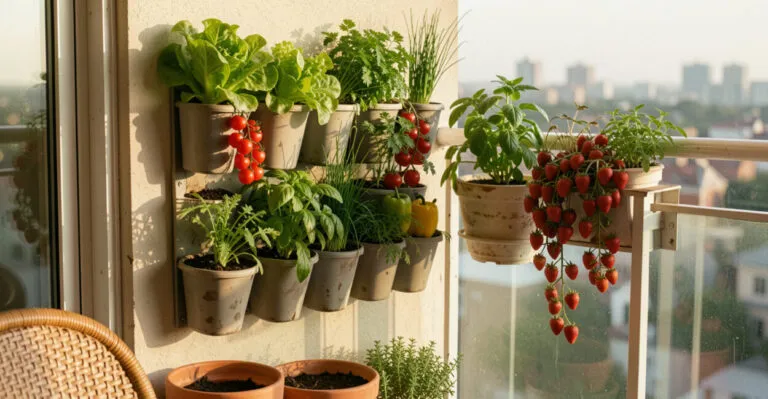 Plants for a Vertical Garden: 9 Options for Apartments