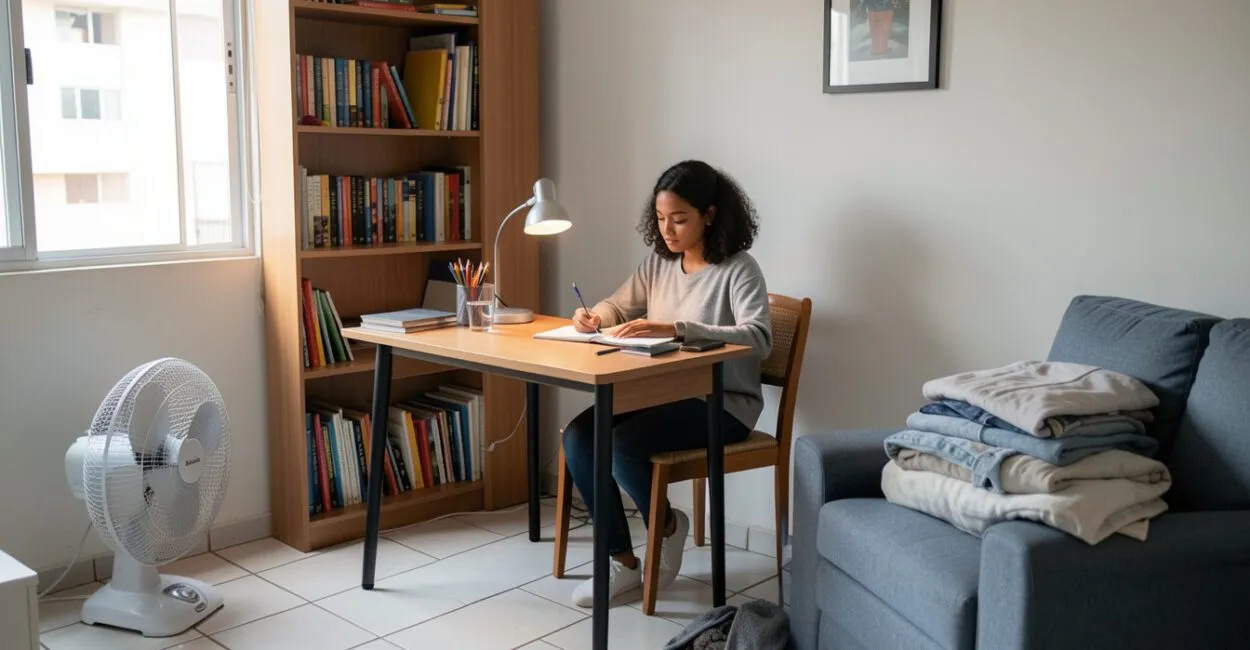
At the kitchen table, notebooks compete for space with the dishes; in the bedroom, the bed always seems more inviting than the task at hand. A well-arranged study space can reduce interruptions and make it easier to get started, even in a small or shared home.
All you need is a designated spot, comfortable support, good lighting, and a simple way to put your materials away.

The goal isn’t to create a picture-perfect home office. It’s to adapt the space you have so it works for studying without disrupting the household routine.
With a few clear boundaries and practical adjustments, a shared table or a corner of the bedroom can work well.
What Makes a Study Space Functional at Home?
A functional study space is an organized area that lets you read, write, or use a computer with stable posture, sufficient lighting, and easy access to the materials you need. In everyday terms, it’s a place where you can get started without hunting for a charger, moving things out of the way, or improvising a support for your notebook.
It can be a permanent setup or one you put together and pack away after each use.
A sturdy chair, a work surface at the right height, and task materials within reach usually matter more than elaborate decor. The most useful test is to notice what gets in the way of starting: if you spend several minutes clearing the table or looking for an outlet, the problem is how the space is set up.
It also helps to separate study supplies from things that are just passing through. A basket or box for storing materials keeps the table from turning into a catchall and makes it easy to clear the space for others when needed.
How to Choose a Spot in a Small or Shared Home
Look for a spot that can stay fairly consistent: a corner with an outlet, a table that isn’t in high demand, or part of a bedroom that doesn’t block the walkway. In a shared home, agree on when each person can use the space and what happens to their things afterward: are they kept in a labeled box or put away when studying is done?
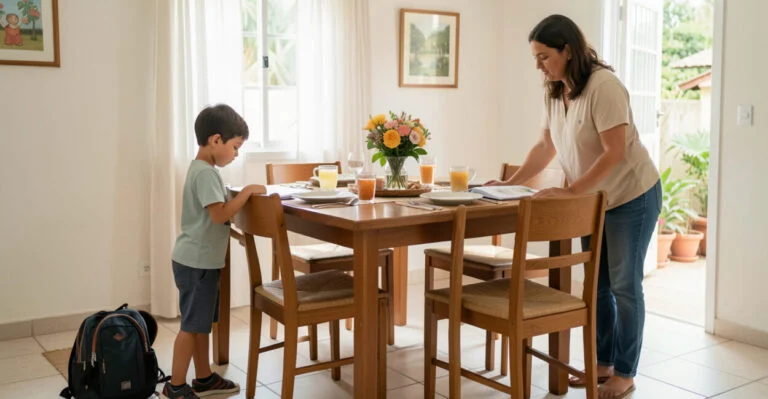
If the dining table is your only option, choose a pencil case or container that holds your notebook, pens, headphones, and charger. That way, setting up and packing away your study station becomes a quick routine instead of a full-house reorganization. A label on the box also keeps your materials from getting mixed up with someone else’s. Think practically about noise, too. Notice when people are talking, the TV is on, or there’s a lot of foot traffic, and choose a quieter time if possible. Headphones can muffle sounds, but they don’t solve everything: for some people, music with lyrics competes with reading, while others find complete silence uncomfortable.
How to Arrange Your Desk, Chair, and Materials

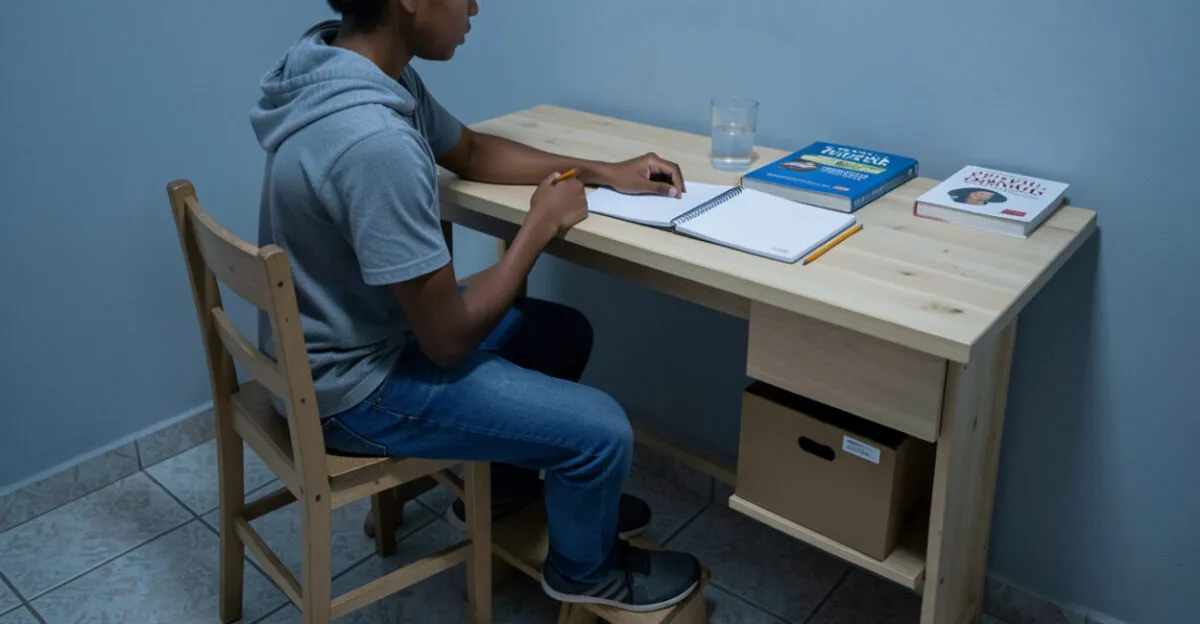
Keep only what you’ll use during that study session on the work surface—for example, a computer, notebook, and water—without piling up books you don’t need for the task. Keep reference materials nearby and remove anything that might distract you or take up writing space.
Your chair should let you rest your feet on the floor or on a stable footrest, with your back supported. If the table is too high, a firm cushion on the seat may help adjust your height, as long as it doesn’t make you unstable; a footrest can complete the setup. Posture varies from person to person, so comfort and freedom from pain are more useful guides than trying to copy a rigid position.
Read also: Study Procrastination: How to Get Started When You Don’t Feel Like It
In a home study area used by several people, keep a separate box for each person and agree on a simple end-of-session rule: remove cups, put papers away, and leave the surface clear. If your biggest challenge is staying consistent, a time-management method can complement your study space, but it won’t replace these physical adjustments. See how time blocking can help reduce distractions.
Lighting, Noise, and Comfort: Adjustments That Help You Focus
Choose lighting that illuminates the page or keyboard without creating direct glare on the screen. If there’s a window, position the desk so the light comes from the side; for right-handed writers, light usually works best from the left, and the reverse is true for left-handed writers. At night, use a task lamp and keep soft ambient lighting on to avoid a sharp contrast between the screen and the rest of the room.
Complete guide: Study Discipline: How to Stay Focused at Home
The U.S. Department of Energy’s guidance on lighting explains the differences between light sources and how to choose bulbs. For studying, the practical takeaway is to choose a bulb that lets you see comfortably and position it so your hand or body doesn’t block the light from your materials.
Comfort also depends on ventilation, temperature, and the ability to change positions. If your chair becomes uncomfortable after a few minutes, decorative accessories won’t fix it: adjust your support, change positions, and take breaks. If you have persistent pain, tingling, or frequent discomfort, consider consulting a health professional; arranging your space is no substitute for an individual assessment.
There’s no single perfect level of lighting or silence for everyone. Light sensitivity, visual needs, the type of task, and the features of your home all affect what works. Make one adjustment at a time and see whether reading, writing, or following a lesson feels more comfortable.

How to Set Up a Simple Study Nook in Your Bedroom or Living Room
In the Bedroom
A simple bedroom study nook can use a compact desk, a sturdy side table, or a shelf designed for that purpose. Avoid positioning your chair where it blocks closets or walkways. If the bed is in your line of sight and becomes a distraction, try turning the desk toward a wall or using a lightweight screen, as long as it doesn’t reduce ventilation or block the light.
In the Living Room
A study nook in the living room works best when everyone in the household agrees on schedules, noise, and storage. A tray or portable box lets you bring everything to the table and put it away afterward, so studying doesn’t take over the shared space all day. For remote classes, test your camera framing and microphone placement in advance; a plain wall is usually enough for a background.
If you’re using the space for an online study session, check your connection and audio before class, not right as it starts. A laptop stand can raise the screen to a better height, but sturdy books work too, as long as the device is stable and ventilated.
Home Study Space or Public Space: How to Choose
Studying at home saves travel time and makes breaks easier, but it can also mean interruptions and competition for the table. A library or another public space may offer quiet and useful facilities, although your options depend on distance, hours, crowding, and rules for using the space. The best choice is the one that suits the task and the person’s routine—not the one that looks most productive to others.
If you’re looking for a study room near you, start by checking public libraries, cultural centers, and study spaces at local institutions. Before heading out, confirm the hours, whether you need to register, whether outlets are available, and the rules for conversations or calls. A quiet room may not work for a class where you need to speak aloud; in that case, a space where talking is allowed is more practical.
The Brazilian Ministry of Health website provides public information on health and well-being. It doesn’t prescribe a single desk or chair setup, which points to an important limitation: general guidance can help identify discomfort, but visual, motor, or health needs may call for professional adjustments.
Checklist: Adapt Your Space Without Spending Much
- Choose a sturdy work surface and set aside a consistent place to study.
- Check that your chair lets you rest your feet and keep your back comfortable.
- Position the light to avoid shadows on your notebook and glare on your screen.
- Keep your materials in a box or pencil case if other people use the same space.
- Agree on schedules, noise, and cleanup with the people you live with.
- Try the setup for a few days and adjust what actually causes interruptions or discomfort.
A small, noticeable change is often more useful than a renovation: keeping your charger next to your notebook, for example, saves you from having to look for it each time. Pick one specific annoyance today, fix just that, and see whether it’s easier to get started next time. To build a lasting habit, you can also explore personal discipline strategies with realistic adjustments.
Frequently Asked Questions
How Can I Study at Home If I Don’t Have a Spare Room?
Use a shared surface and keep your materials in a portable box. Set a time to use the space and follow a short routine to clear the table when you’re done.
What’s the Best Light Bulb for Studying?
The best bulb is one that lights your work without causing glare or reflecting on your screen. The result depends on the lamp’s position, the available natural light, and each person’s visual sensitivity; test the whole setup, not just the bulb.
Is It Better to Study in the Bedroom or the Living Room?
It depends on which space has fewer interruptions and works better for the task. A bedroom may offer privacy, while the living room makes it easier to use a shared table; in either case, storage and household agreements make a difference.
How Can I Keep Other People from Disorganizing My Space?
If you can’t reserve the table, use a labeled container for your things and agree on clear rules for using the space. Putting your materials away when you’re done protects your study area without requiring it to stay occupied.
Artigos Relacionados
 Distractions at Home: 7 Ways to Protect Your Study Time
 School Adjustment in Early Childhood Education: How to Help
 School Routine: 7 Steps to Study Without Arguments at Home
 An At-Home Study Routine: Schedules That Actually Work
 Neuroscience-Based Study Strategies for Better Focus
 How to Help Students With ADHD Stay Focused Before an Exam