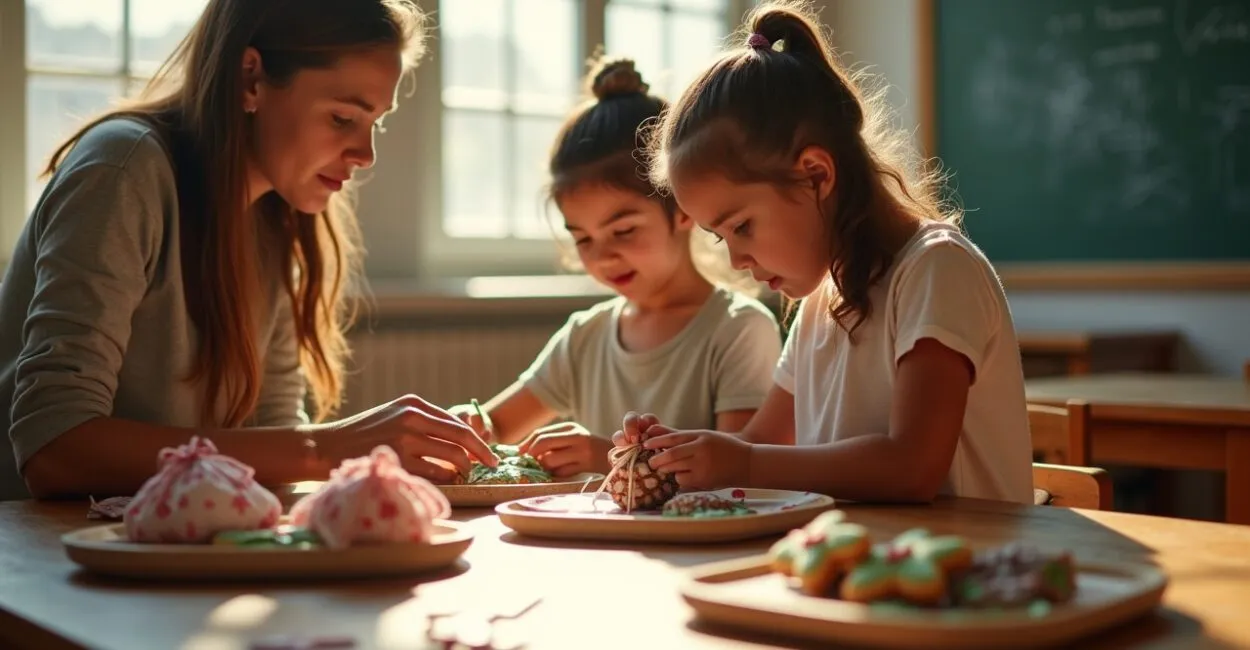
The bell rings, and the teacher says, “Each pair will make an inexpensive favor for the Christmas party.” In five minutes, the room is out of fresh ideas—and the budget is still just $1.00 per item. If you’ve been in this situation, there’s no need to settle for the usual options. With a little money, a little time, and plenty of creativity, you can make something special. Here are 10 inexpensive Christmas favors that are ready to make in the classroom, along with shopping, reuse, and organization tips to involve kids without the stress.
1. 10 Ideas Under $1 That Are Sure to Delight
You don’t need anything fancy to make people smile. The ideas below are easy to put together, designed for group production, and cost no more than $1 per item:

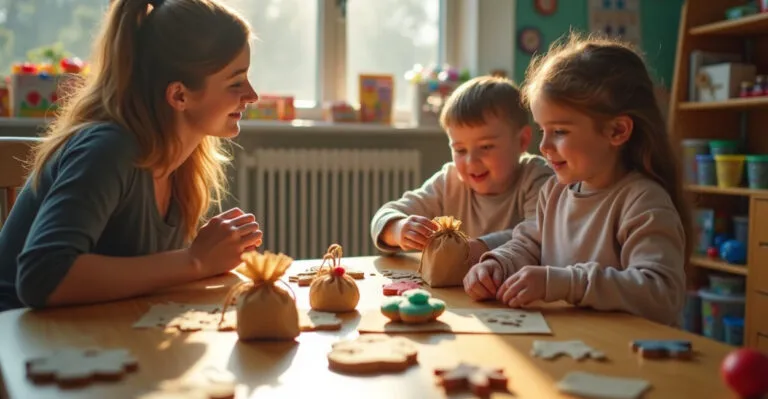
- Mini scented sachets (fabric, cotton, fragrance oil)
- Glittery pinecone ornament
- Card with a “Good for one hug” coupon and stickers
- Wrapped Christmas cookie (plastic wrap and ribbon)
- Painted salt dough ornament
- Mini Christmas-themed fabric mask
- Bookmark with a pom-pom
- Kraft paper bag with a small piece of chocolate
- Simple felt doll
- Holiday-themed bead bracelet
All of these inexpensive favors can be made in the classroom. For many items, buying in bulk brings the cost below $1 each. Compare prices at local craft stores and online marketplaces; buying directly from manufacturers can sometimes save you even more.
2. How to Keep Each Item Under $1
The key is to do the math before you shop. List the materials, account for leftovers, and figure out how many items each package will make. Buying kits and splitting costs between classes works well.
- Buy beads, buttons, and ribbon in large packs.
- Choose fabrics and paper that allow you to cut multiple pieces.
- Ask local suppliers about discounts for schools.
According to information from the Brazilian Government Portal, group purchases often lower the cost per item. Another useful source for planning is Brazil’s Ministry of Education, which offers guidance on school projects and local partnerships.
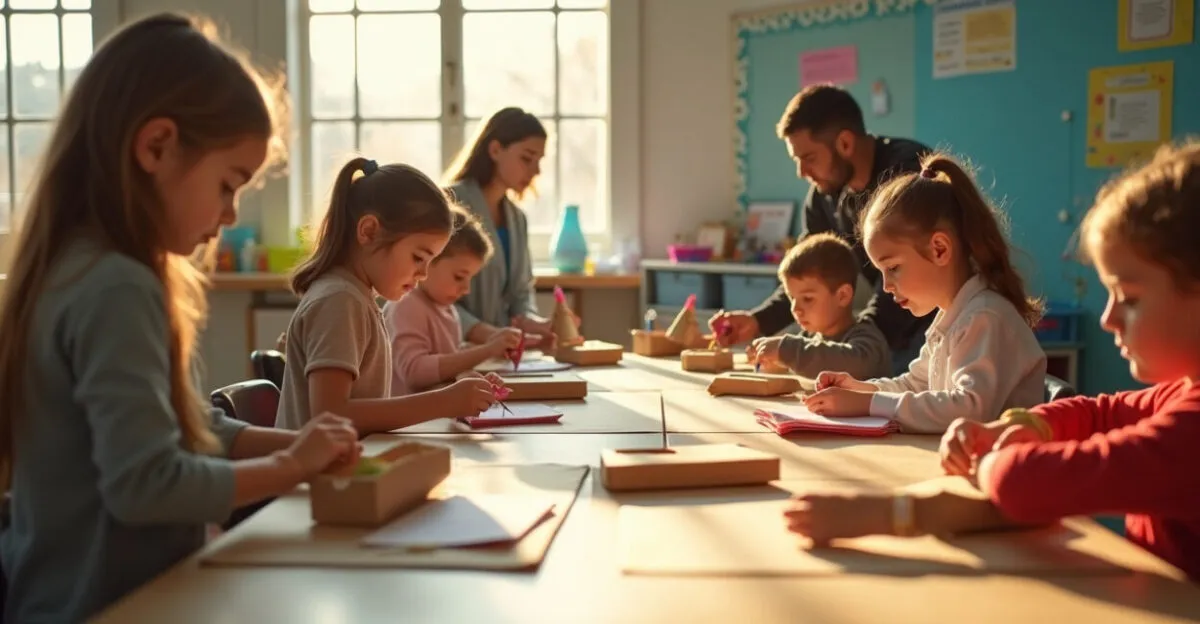
3. Making Favors in the Classroom: How to Organize Activities for Kids

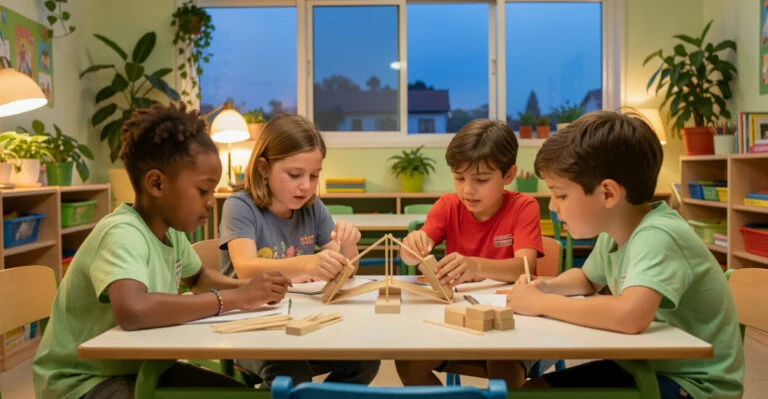
Organization turns a mess into a productive party. Divide the class into stations: cutting, assembling, packaging, and quality checks. Assign a child to help at each station, with an adult supervising.
Read also: School Partnerships: How to Get the Community Involved Today
- Plan for 30–45 minutes at each station.
- Label materials to keep things organized.
- Give short, clear instructions and show the finished example.
Small goals help kids stay focused. At the end, have a quick show-and-tell of the favors to encourage care and pride in their work. For safety, use child-safe scissors and supervise children when using hot glue.
4. Shopping Tips No One Tells You About (That Save Time)
Shopping strategically is half the battle. Don’t buy everything at the first store you find. Here are a few easy-to-miss tips:
Read also: Christmas Party Favor Ideas for Preschool: 25 Options
- Compare prices at online and local wholesalers.
- Ask for free samples when available.
- Use leftover materials from past projects—fabric scraps are a gold mine.
Here’s a surprising comparison: spending $10 on wholesale supplies can be equivalent to buying 10 individual items at $1.40 each. In other words, planning lowers the cost per item and prevents last-minute scrambling.
5. Get Creative with Reuse: Turn Scraps into Joy
Leftovers can become the star of the show when you get creative. Scrap paper, gift ribbons from past holidays, and leftover craft foam are perfect materials for inexpensive favors.
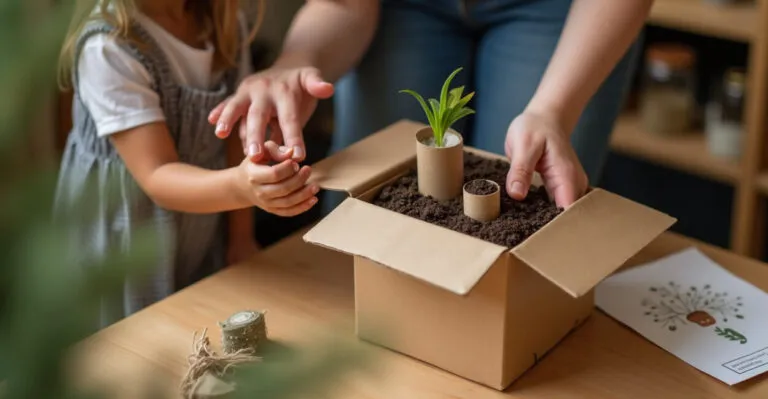
- Toilet paper rolls can become mini Santa figures, ornaments, or treat holders.
- Fabric scraps can be turned into scented sachets.
- Decorated matchboxes can be used as mini gifts.
A common mistake is throwing materials away before thinking about how to use them. Saving scraps cuts costs and creates opportunities for recycling activities that teach kids about the environment. Try setting up a “scrap box” in the classroom—you may be surprised by the kids’ ideas.
6. Common Mistakes When Making Inexpensive Favors (and How to Avoid Them)
Avoiding common pitfalls saves time, money, and frustration. Here are the most frequent mistakes and how to fix them:
- Mistake: buying too many or too few supplies — Solution: make a schedule and count materials in advance.
- Mistake: not giving kids clear instructions — Solution: provide a visual example and assign station leaders.
- Mistake: choosing items that are too fragile — Solution: test how durable they are before making a large batch.
Another common trap is underestimating how long packaging takes. Set aside a final block of time just for that. A few small adjustments now can prevent a rushed, wasteful finish.
7. A Realistic 60-Minute Plan (with Checklist)
Simple, practical, and tested: 60 minutes to make 30 favors. Use this step-by-step plan in the classroom.
- 0–10 min: explain the activity and show the finished example.
- 10–30 min: cut and prepare materials at the stations.
- 30–45 min: assemble the favors in pairs.
- 45–55 min: package and label them.
- 55–60 min: do a final check and display the finished items.
Sample materials checklist for 30 items: 1 yard of fabric, 500 g of cotton, 2 packs of ribbon, 1 box of beads, 30 small plastic bags, and labels. With this plan, the favors turn out consistent, with time left for a celebration activity at the end.
Small, thoughtful favors can mean more than large, impersonal gifts. With good organization, smart shopping, and a little reuse, your class can make something meaningful without breaking the bank. Try this approach at your next school event and see the difference in the kids’ smiles.
Frequently Asked Questions: What’s the Cheapest Material to Start With?
The most affordable materials are usually kraft paper and fabric scraps. Both go a long way: kraft paper can be made into envelopes, cards, and packaging, while fabric scraps can become scented sachets and decorations. Buying large rolls or leftover materials from a craft studio keeps the cost per item very low. You can also reuse paper and ribbon from past school events. Before shopping, check the supply closet—you may already have enough materials to get started.
How Long Does It Take a Class to Make 50 Favors?
With good organization and activity stations, making 50 favors usually takes between 90 and 120 minutes. That includes assembly, packaging, and a final check. Divide the class into groups of 5–6 students and run four stations at the same time to work efficiently. If the kids are younger, allow extra time for instructions and supervision. Plan short breaks and assign one adult to each station to keep things moving and maintain quality.
How Do I Calculate the Cost per Item Correctly?
Make a simple spreadsheet: list every material and its total cost, then estimate how many items each one will make. Add up all the costs and divide by the number of items you plan to make. Remember to include packaging, ribbon, and labels. Always add 5–10% extra to account for waste and breakage. This calculation prevents surprises and helps keep each inexpensive favor within the $1 budget.
Can I Ask Parents to Help Shop Without Things Getting Chaotic?
Yes. Make a clear list of items and quantities, and ask for optional—not required—contributions. Set a drop-off location and specific dates and times. Use the school’s communication channels (WhatsApp or email) to confirm what’s still needed. Assign someone to organize donations as soon as they arrive. That way, you can get help without losing track of things while strengthening the school community.
Which Favors Are Best for Young Children?
Young children do best with safe, sensory favors, such as scented sachets, painted salt dough ornaments, and decorated cards. Avoid small pieces that could be swallowed. Choose nontoxic materials and make sure seams and glued pieces are secure. Simple activities like adding stickers or assembling pom-poms help kids stay focused and create something lovely without frustration. Putting safety first makes the activity fun and the favors memorable.