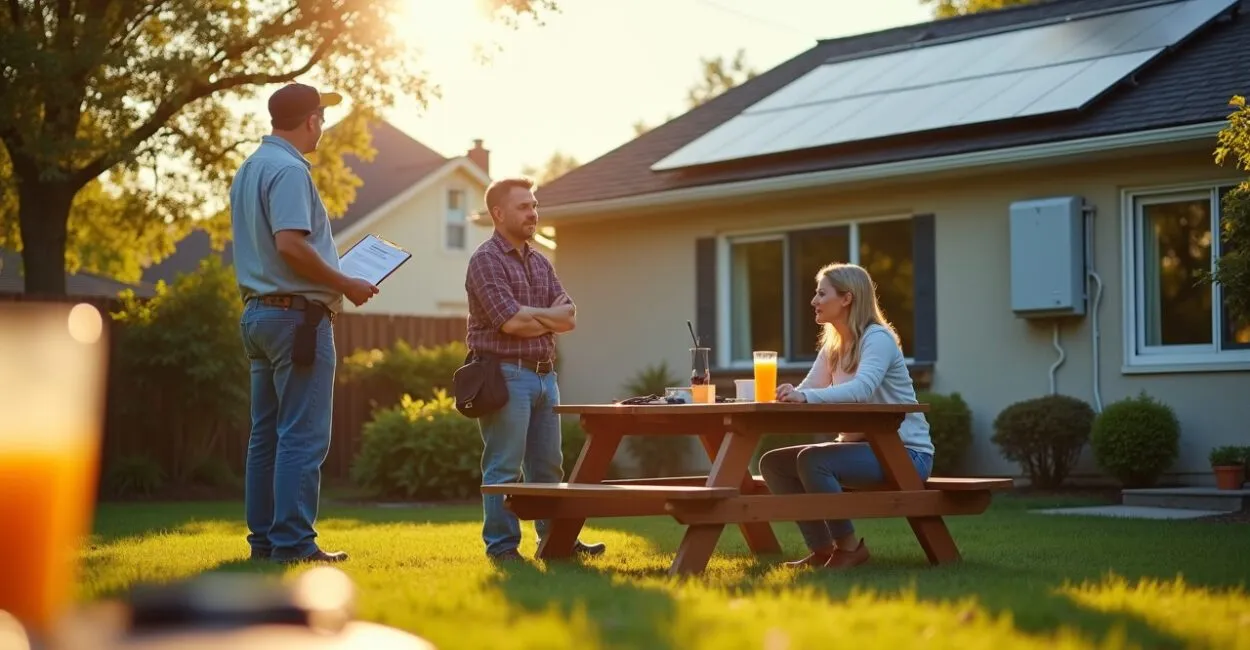
Over lunch, my neighbor showed me his latest electric bill: zero dollars. He told me he’d installed an affordable solar panel system over a weekend, and that the secret was choosing the right kit and avoiding three mistakes that almost cost him his warranty. If you want to lower your bill without becoming an electrician, read on—it’s quick, straightforward, and includes a practical checklist.
What Does an Affordable Solar Panel Installation Really Cost?
There’s one simple detail many people overlook: the total cost isn’t just the price of the panels. Factor in the inverter, mounting hardware, cables, circuit breakers, and sometimes electrical system upgrades. An affordable solar panel installation keeps upfront costs down by prioritizing components with a good price-to-value ratio—not simply the cheapest options. In practice, replacing a low-cost inverter with a more efficient model can pay for itself in 2–4 years. I’ve seen homeowners cut their annual electric bills by 20% just by adjusting the modules’ angle—without replacing a single component.

The Technical Definition, in Plain English: What Is an Affordable Solar Panel Installation?
Technically, it’s the design, mounting, and connection of a photovoltaic system (PV modules + inverter + electrical protection + grid connection or batteries) optimized for a lower total cost of ownership (TCO). In plain English, it means building a system that generates as much energy as possible at the lowest cost without compromising safety or durability. This requires understanding module output (Wp), inverter efficiency, shading losses, and string sizing. Quick glossary: Wp (watt-peak), MPPT (maximum power point tracker), string voltage.
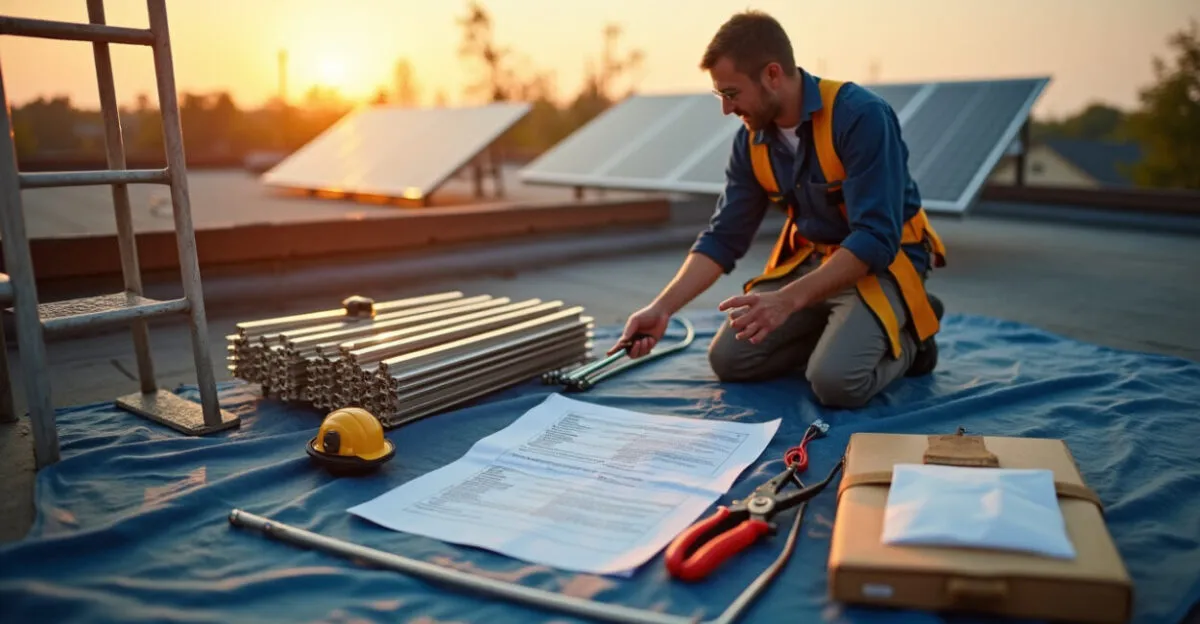
Practical Checklist: Tools and Materials for an Affordable Solar Panel Installation

Get everything organized before climbing onto the roof. Having the right tools prevents costly rework and helps ensure safety. Here’s a concise, practical list for anyone looking for an affordable solar panel installation without hiring a full crew:
- Materials: photovoltaic panels (modules), a string inverter or microinverters, mounting hardware/rails, solar cables (PV1-F or equivalent), MC4 connectors, DC/AC circuit breakers, surge protection devices (SPDs), grounding equipment (rod and wire), and a protection panel.
- Tools: torque wrench, crimping tool, multimeter, voltage detector, drill with roof bits, support ladder, and fall-arrest kit.
- Documents: simplified electrical plan, ART/CA certification from a licensed technical professional (when required), and utility approval for grid connection.
A Quick Step-by-Step Guide to Building the System (Without Surprises)
Start with the design: calculate average daily energy use and determine the required kilowatt-peak capacity. Next, choose a location (a roof with plenty of sun), lay out the modules, size the strings, and select an inverter with compatible MPPT. Follow this installation sequence: mounting structure → panels → DC wiring → inverter → AC protection → grid connection. A common mistake is reversing the sequence and connecting cables without protection, creating safety risks and extra work. A quick story: at one building, the cables were reversed and the SPD burned out—the panel had to be replaced, but the warranty claim was denied.
Read also: Residential Solar Panel Maintenance: Costs and Care
Common Mistakes to Avoid with an Affordable Solar Panel Installation
Avoiding mistakes reduces replacements and makes sure your savings are real. Here’s what to watch out for:
- Incorrectly sizing the system’s output—don’t rely only on peak sunlight hours.
- Using cables that don’t meet specifications (which can overheat and reduce power output).
- Improper mounting that allows water to leak through the roof.
- Skipping surge protection, which can void equipment warranties.
- Ignoring recurring shade from trees, chimneys, and other obstructions, which reduces output.
A surprising comparison: paying 15% more for galvanized mounting hardware can add 10–15 years to its lifespan—often costing less than replacing panels prematurely.
Read also: How to Reduce Business Waste Without Spending a Lot
Safety: A Protection Checklist for Residential Installation
Safety isn’t optional—it’s essential to keeping an affordable solar panel installation genuinely affordable. Use appropriate PPE, fall protection, and proper grounding; never improvise electrical connections. Essential steps include shutting off the main power before starting work, verifying that the circuit is de-energized, tightening connections to the torque specified in the manual, installing SPDs and DC/AC circuit breakers, and signing off on inspection checklists. I’ve seen professionals lose warranty coverage because they failed to document this initial inspection—record everything with photos and a spreadsheet.
When to Call a Professional: The Limits of DIY
Not every project is suitable for a tutorial. This approach works well for small systems (up to about 3–4 kWp) on simple roofs; it’s not suitable for complex roofs, battery systems, or commercial connections. Local rules and utility requirements vary, so always check before you begin. According to Brazil’s National Electric Energy Agency (ANEEL), the country has technical standards and procedures for grid connections—consult the regulator. If you have concerns about structural safety or code compliance, hire a licensed technical professional to avoid risks and fines.
Sources and further reading: for connection standards and procedures, consult Brazil’s National Electric Energy Agency (ANEEL) and solar energy studies from EPE — Energy Research Office.
One final thought: skimping on installation and cutting corners in the design is like fixing your car with duct tape—it might get you moving, but the bill will come back twice as high. Think of the system as a long-term investment: choosing the cheapest option can cost you your warranty and leave you with expensive repairs sooner than expected.
Frequently Asked Questions
How Long Does It Take to Install an Affordable Residential Solar Panel System?
For a simple 2–4 kWp system on a standard roof, physical installation typically takes a small, well-prepared crew 1 to 3 business days. Design and paperwork (utility approval and documentation) can add 1–4 weeks. If you’re doing some of the work yourself, allow extra time for purchasing supplies, adapting the roof, and electrical testing. Schedule the work during a stretch of dry weather and check your utility’s timelines to avoid delaying the connection.
What Factors Make the Biggest Difference in the Total Cost of an Affordable Solar Panel Installation?
The biggest savings come from choosing modules with a good cost-to-efficiency ratio, sizing the system correctly to avoid oversizing, reducing shade-related losses, and optimizing the inverter with a suitable MPPT. Planning everything before installation and reducing labor costs without skipping essential steps can also help. Avoid generic components without certification, as they may void the warranty and increase future maintenance or replacement costs.
Can I Install Solar Panels Myself Without Voiding the Manufacturer’s Warranty?
It depends on the manufacturer and the warranty terms. Many require installation by a qualified professional and documentation of electrical tests; others allow homeowners to install the system as long as they follow the manuals and have a licensed technical professional handle the documentation. Always read the warranty terms and keep photos, receipts, and commissioning reports. If human error damages the product, the warranty claim may be denied—and then the “cheaper” option becomes an expensive mistake.
What’s the Minimum Maintenance Needed to Keep an Affordable Solar Panel System Performing Well?
Basic maintenance includes periodically cleaning the modules to remove dust and leaves, visually inspecting connections and mounting hardware, checking inverter readings, and inspecting the grounding system and SPDs annually. Prepare semiannual reports on energy production; a sudden drop can signal a problem. In dusty areas, cleaning every six months helps prevent reduced output; in rainy regions, an annual inspection is usually enough.
How Do I Calculate How Many Panels I Need to Cut My Electric Bill in Half?
Calculate your average daily energy use in kWh by dividing your monthly bill’s usage by 30. Estimate local production per kWp (equivalent sun hours per day)—say, an average of 4 kWh/kWp. To cut your bill by 50%, plan for annual generation equal to half your consumption. For example: daily use of 20 kWh → target of 10 kWh per day → 10 / 4 ≈ 2.5 kWp, or about 8 to 10 330 W panels, depending on shading and other losses. Always consult a system design professional to account for actual losses.
Artigos Relacionados
 Low-Cost Solar Panels: Lower Your Energy Bill and Pay Back Your Investment Faster
 Common Low-Cost Solar Panel Mistakes: Nine Failures That Cut Your Savings and How to Avoid Them Now
 Home Gardening: How to Grow Your Own Food in a Healthy, Affordable, and Sustainable Way
 Build a Quick Garden in 45 Minutes — A Proven Method
 Build a Vertical Garden Today: A 20-Minute Beginner’s Guide
 Energy Savings at School: Cut Costs and Reduce Impact