
A poorly arranged classroom can get in the way of learning more than difficult material. When the space doesn’t fit the way the class works, the teacher loses time, movement becomes difficult, and participation drops.
The main goal isn’t to decorate the room. It’s to choose a functional layout that supports the learning objective for the day.

The right layout depends on three things: room size, class size, and activity type. A lecture calls for one setup; group work, another; discussions and hands-on activities require different arrangements. Below, you’ll learn how to make an informed choice, which formats work best, and how to adapt classroom layouts without having to improvise.
The Essentials
- The best layout isn’t the prettiest one: it improves visibility, movement, and interaction while keeping the class manageable.
- Rows usually work best for lectures; clusters and pods are more effective for collaborative activities.
- Small rooms call for lightweight furniture, clear aisles, and few blind spots for the teacher.
- Before changing the seating arrangement, consider how many students actually need to interact with one another and see the board.
- Good space planning reduces noise, unnecessary movement, and wasted time between activities.
What Is a Classroom Layout, and Why Does It Matter?
A classroom layout is the physical arrangement of furniture, seats, and walkways in a learning space. In practice, it determines who can see whom, how the teacher moves around, and how easily the class can shift between lectures, discussion, and hands-on work.
This choice directly affects classroom management. When the room’s setup doesn’t support the teaching approach, predictable problems arise: students can’t see the board, it’s harder to follow classroom interactions, noise levels rise, and time is lost when switching tasks.
Anyone who works in education knows that a space is always sending a message. Rows signal that students should focus on the teacher; a circle encourages listening; pods suggest collaboration. A layout won’t solve everything, but it can make a lesson easier—or harder—from the first few minutes.
A classroom layout should be based on the learning objective, not habit: the same class may need different arrangements throughout the week.

How to Choose the Ideal Layout for Your Classroom
The best layout balances visibility, movement, interaction, and classroom management for the activity at hand. In a small room, movement is the priority. In a large class, the priorities shift to clear sightlines and access to students. For hands-on lessons, cooperation becomes the focus.
Before moving desks, it helps to answer four simple questions:
- How many students need to see the board at the same time?
- Will the teacher be speaking, moving around, or facilitating?
- Do students need to work independently, in pairs, or in groups?
- Is there enough room for aisles, accessibility, and a quick exit if needed?
This quick assessment helps avoid automatic decisions. I’ve seen schools insist on keeping desks in rows for every activity, even science projects and writing workshops. The result was predictable: half the class time went to rearranging the room instead of learning.
For guidance grounded in institutional recommendations, consult accessibility guidelines from the federal government, resources from the Ministry of Education, and educational guidance from organizations such as UNDIME, Brazil’s National Union of Municipal Education Directors. These sources don’t prescribe a single format, but they underscore the importance of learning environments that are accessible, safe, and aligned with educational goals.
Key Classroom Layouts and When to Use Each One

Traditional Rows
Rows work well for lectures, large classes, or lessons focused on the teacher and the board. This setup directs students’ attention and makes classroom management easier, but it reduces interaction among students. For collaborative activities, it can get in the way.
Semicircle or Circle
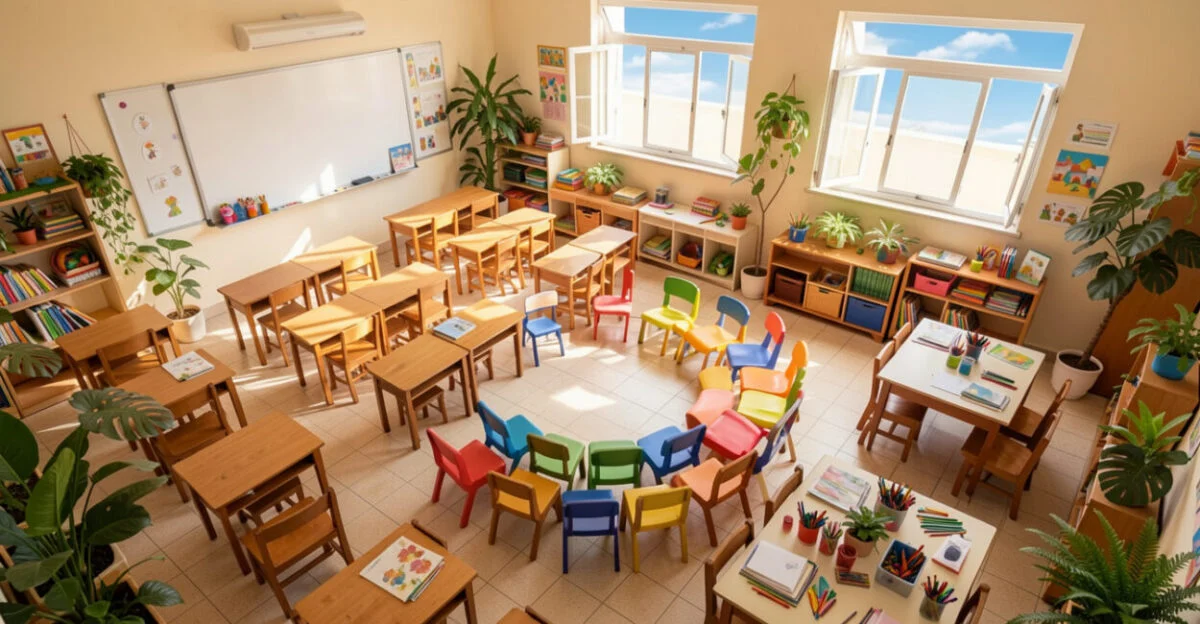
A discussion circle is ideal for debates, shared reading, presentations, and more collaborative facilitation. Its main strength is student participation. It can be less effective when the room is cramped or the class is too large for everyone to see and hear one another.
Pods or Groups
Pods are a great choice for group work, problem-solving, and activities involving shared materials. Each group has its own space to interact, which encourages cooperation. Avoid putting too many students at one table, though: larger groups tend to share less and get distracted more easily.
U-Shaped
A U-shaped arrangement offers a useful middle ground between instruction and participation. The teacher can move around easily, students can see one another clearly, and the board remains accessible. It works especially well with smaller classes and guided discussions, but requires enough room around the sides.
Pairs
Pairs work well for reading, review, exercises, and peer tutoring. This simple arrangement is quick to set up and effective when you want participation without chaos. In energetic classes, it’s often easier to manage than larger groups.
| Layout | Best for | Main advantage | Typical limitation |
|---|---|---|---|
| Rows | Lectures | Classroom management and clear sightlines | Limited interaction |
| Circle | Discussion and reading | Whole-class participation | Requires space |
| Pods | Group work | Strong collaboration | Can be noisier |
| U-shaped | Guided discussion | Good visibility between students | May not fit in small rooms |
| Pairs | Short activities | Quick setup and easy management | Less variety in interaction |
The ideal setup isn’t the one that looks most modern; it’s the one that minimizes friction between the lesson plan and the physical realities of the room.
Practical Classroom Layout Examples
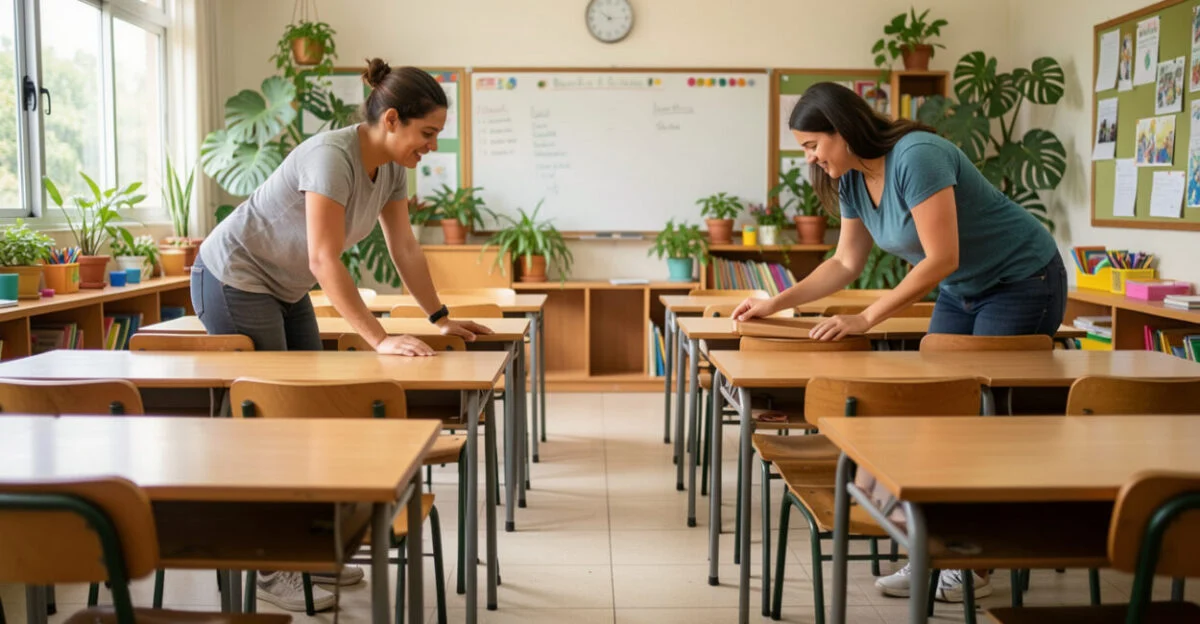
In practice, teachers rarely use just one setup all the time. The most effective approach is to use arrangements that can be set up in a few minutes without relying on fixed furniture. In schools with heavy furniture, that makes all the difference.
Read also: Inclusive Classrooms: Essential Physical and Instructional Adaptations
Setup 1: Lecture with a Central Aisle
Arrange desks in rows with a wide aisle down the center. This setup keeps the focus on the teacher and makes it easier to reach students. It works well for large classes, tests, and longer explanations.
Setup 2: Pods of Four to Six Students
Ideal for projects, multi-step writing assignments, and problem-solving. The key is to keep groups small enough to prevent students from coasting on others’ work, but large enough to divide up tasks.
Read also: Classroom Lighting: Student Health and Attention
Setup 3: U-Shape with Space for Facilitation
This arrangement encourages questions, group reading, and short presentations. The teacher has room to move through the center, and students can see one another’s reactions. For discussions, it often works better than rows.
Setup 4: Open Semicircle
Good for small-group circles, early childhood classrooms, extra help, and more personalized instruction. It becomes less practical when there are too many students or the chairs are too large for the available space.
A real example helps bring this to life. In a middle school class, a teacher started the term with desks in rows because the room was small and the students were energetic. In the second week, she switched to pods for writing activities and returned to rows for instruction. The results were clear: less time lost during transitions and more engagement when the task called for cooperation.

How to Adapt the Layout to the Class, Room, and Activity
Choosing the right setup depends on the class and how the room will be used. There’s no one-size-fits-all arrangement: the same layout can work very well in one situation and fail in another.
Large Classes
With large groups, the priorities are clear sightlines and room for the teacher to move around. Rows, a partial U-shape, or aligned pairs are usually safer choices. A common mistake is trying to encourage too much interaction at once and losing control of the space.
Small Rooms
In a tight space, the layout needs to be simple. Clear aisles, movable tables, and fewer major changes are more helpful than complicated setups. If the room can’t accommodate pods, insisting on them can make things worse.
Hands-On Activities
In labs, workshops, art classes, or other hands-on activities, the layout should prioritize access to materials and safety. In these cases, grouped stools, side counters, or perimeter tables make more sense than rigid rows.
There’s an important limitation: not every school allows furniture to be rearranged freely. In some districts, layouts must follow internal rules, account for students with specific needs, and meet accessibility guidelines. The educational rationale still matters, but it has to fit the actual conditions of the room.
For a more informed approach to accessibility and movement, consult official resources on inclusive education and school infrastructure on the INEP website—Brazil’s National Institute for Educational Studies and Research—and publications from the IBGE, Brazil’s national statistics agency, on housing conditions and infrastructure. These resources help put inequalities in space and access across the country into context.
Classroom Layout Examples for Real-World Situations
The examples below show how the setup changes with the lesson objective. A layout isn’t just decoration: it affects student behavior and the time available for learning.
- Math lesson with an opening explanation and practice at the end: rows for the introduction, then pairs for exercises.
- Presentation or debate: a semicircle or U-shape so students can make eye contact.
- Multi-step writing assignment: groups of four for planning, pairs for peer review, and rows for the final draft.
- Early childhood education: a circle for welcoming students and small-group tables for structured activities.
- Academic support: pairs or a U-shape, so the teacher can address questions more precisely.
The clearest sign that a layout is working is simple: less time spent getting the class back on track and more time available for learning. If the physical setup takes too much effort to manage, it’s no longer serving the lesson.
Common Classroom Setup Mistakes
The first mistake is choosing a layout out of habit. Rows aren’t “right” for every situation, just as pods aren’t automatically innovative. The setup should fit the task, not the school’s traditions.
Ignoring Movement
Narrow aisles make it hard for the teacher to reach students and complicate the daily routine. This matters even more when students have limited mobility, need one-on-one support, or frequently use materials.
Underestimating Noise
Large groups tend to be noisier. If students already struggle with self-regulation, a very open arrangement can make it harder to concentrate and require constant intervention.
Failing to Plan Transitions
Changing the layout without planning for time and routines disrupts the flow of the lesson. Ideally, have a few setups ready for different parts of class: instruction, interaction, practice, and wrap-up.
The most effective setup is one the teacher can maintain consistently, without turning every layout change into a logistical event.
Final Checklist for Choosing the Best Classroom Layout
Before making a decision, try this practical checklist. It helps avoid impulsive choices and lets you compare classroom layouts based on what really matters.
- Is the goal of the lesson to explain, discuss, practice, or create?
- Do students need to see the teacher, their classmates, or both?
- Is there enough room to move comfortably between desks?
- Can the furniture be moved quickly and safely?
- Is the noise level of the layout appropriate for the activity?
- Do any students need easier access, visual support, or a specific seat location?
- Will the chosen setup save time or create more work?
If your answers point to more than one arrangement, that’s not a problem. It means the right plan may be to change the setup throughout the week rather than try to fit every teaching approach into a single arrangement. That flexibility is often what separates a burdensome routine from an organization that truly works.
Frequently Asked Questions
What is the best classroom layout for a lecture?
Rows or a U-shape with clear sightlines usually work best. These arrangements keep students focused on the teacher, make it easier to see the board, and help with classroom management. In a small class, a U-shape can encourage more interaction without sacrificing organization.
Which classroom layouts are most common in large classes?
Traditional rows are still the most common choice for large classes because they allow for movement and clear sightlines. In some cases, aligned pairs or a partial U-shape can also work. The key is to leave enough aisles for the teacher to reach students.
How should you arrange a classroom for group work?
Pods of four to six students are usually the most effective arrangement. They limit distractions and make it easier to divide up tasks. Keep materials within reach and avoid groups that are too large, since they tend to give too few students a voice and create too many distractions.
How can you adapt a classroom layout for a small room?
The best approach is to keep things simple: make fewer changes, allow more room to move, and position the furniture carefully. Compact rows, pairs, or an open U-shape are usually more practical than large pods. If the room is too cramped, insisting on collaborative setups can get in the way of the lesson.
What should you consider before changing a classroom layout?
Consider the learning objective, class size, room size, how easily the furniture can be moved, and the expected noise level. It’s also worth thinking about accessibility and how long transitions between activities will take. Changing the layout without considering these factors can create more confusion than benefit.
Is there one ideal layout for every subject?
No single setup works for everything. Math, language arts, science, and early childhood education involve different activities, so the space should reflect the lesson. The most effective approach is to have two or three go-to arrangements and switch between them as needed.
Artigos Relacionados
 Internet of Things: A Complete Guide with Practical Examples and Applications
 How to Include Students with Disabilities in the General Education Classroom
 The Classroom of the Future: Emerging Technologies Transforming Education
 Storytelling Techniques for Children: A Complete, Practical Guide
 Creative Upcycling: Practical Ideas for Making Money from Waste
 Augmented Reality in the Classroom: Turning Abstract Concepts Into Hands-On Experiences