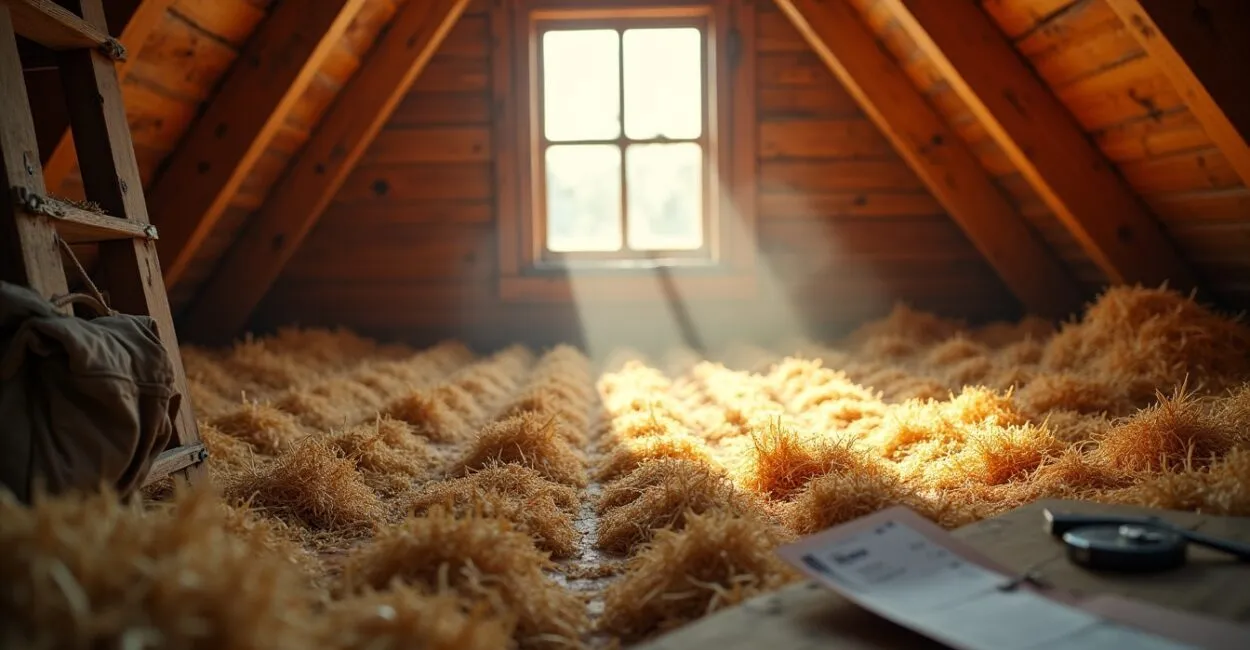
A scorching ceiling at 3 p.m. and an energy bill that never seems to go down—sound familiar? One sweltering afternoon, I watched a friend cover his attic with straw bales and say, “This is like air conditioning, but without the bill.” Straw insulation stuck with me: it’s affordable, natural, and surprisingly effective. If you live in a modest home and want to lower the heat and your energy costs, it’s well worth reading on.
Before you write it off as a passing trend: there’s real technique involved, risks if it’s done wrong, and better options for different porches, roofs, or walls. I’ll cover thermal performance, how long it really lasts, and how to prepare an effective covering—with practical tips you can try next weekend.

Why Straw Insulation Is Making a Comeback
Straw is making a comeback not out of nostalgia, but in response to cost and sustainability concerns. As synthetic materials get more expensive and interest in low-carbon building grows, farmers and builders are seeing straw as a useful byproduct. In dry climates, properly installed straw can provide an R-value comparable to many mineral wool products. It also has a smaller environmental footprint: less industrial energy, less transportation of heavy materials, and agricultural waste put to use.
The Part No One Explains Well: How Straw Insulates
Insulation works by trapping still air. Straw creates millions of small air pockets that slow heat transfer through conduction and convection. It’s not magic—it’s physics put to good use. Compared with fiberglass, straw is less dense and better at buffering rapid temperature changes—ideal if you want to reduce the midday heat peak. But performance depends on compression, moisture, and protection from wind.
Thermal Performance and the Numbers That Matter

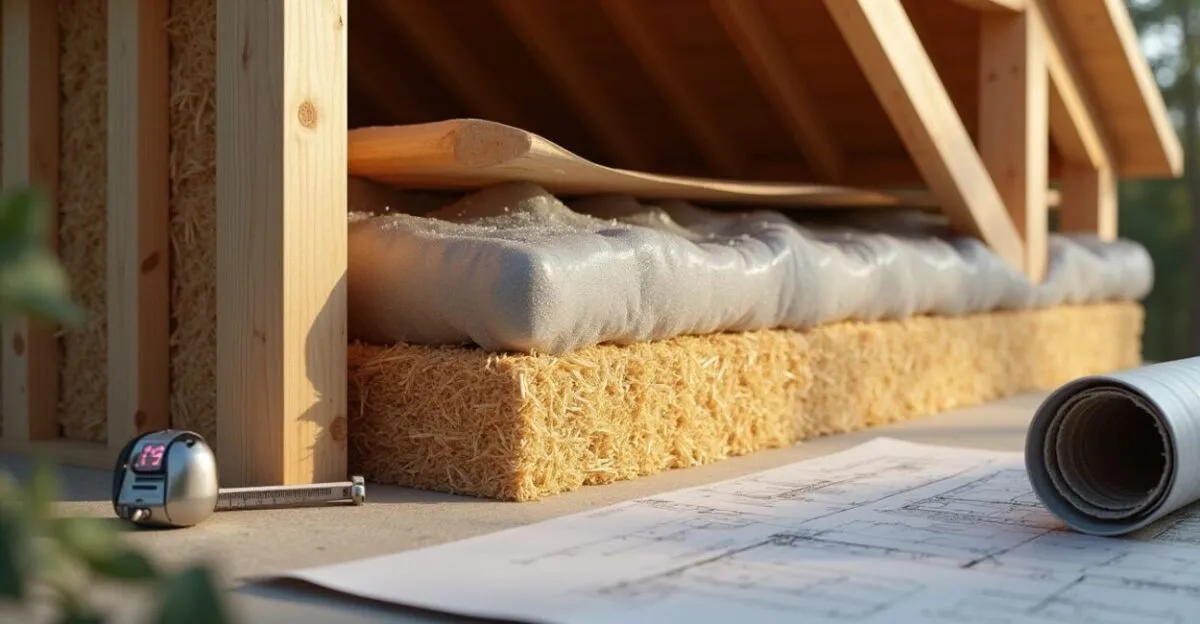
Here are some practical figures: a 20–30 cm straw panel, properly installed and protected, typically reaches an R-value of 2.5 to 3.5 m²·K/W (values vary with density). That can mean cooler afternoons indoors and more stable temperatures at night. The real result: fewer temperature spikes and lower cooling costs.
- Recommended roof thickness: 25–35 cm.
- Walls: 20–30 cm, depending on the cavity.
- Important: vapor barriers and waterproof covering help prevent moisture.
For research and technical guidance, see studies from Embrapa, Brazil’s agricultural research agency, and resources from UFRJ, the Federal University of Rio de Janeiro, on building with natural fibers.
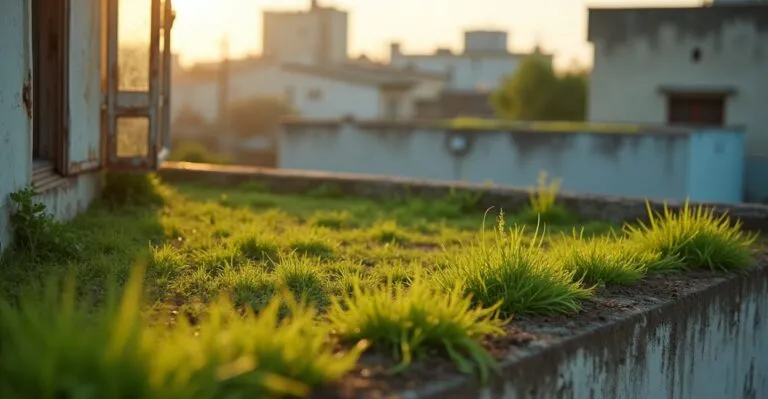
Read also: Green Roofs Are Trending: Why Everyone’s Talking About Them
Durability: Myth vs. Reality
Myth: straw rots quickly. Reality: if kept dry, ventilated, and protected, straw can last for decades. Its biggest enemy is ongoing moisture. Rodent and insect infestations can be prevented with screens, surface treatments, and proper sealing. Well-built roofs have been reported to last 30 years without major maintenance. It all starts with choosing clean, low-moisture straw and ends with a covering that keeps water out.
How to Prepare an Effective Covering for a Modest Home
Start with the basics: a clean structure, treated beams, and a wind barrier. Don’t place straw in direct contact with damp masonry. Here are the practical steps:
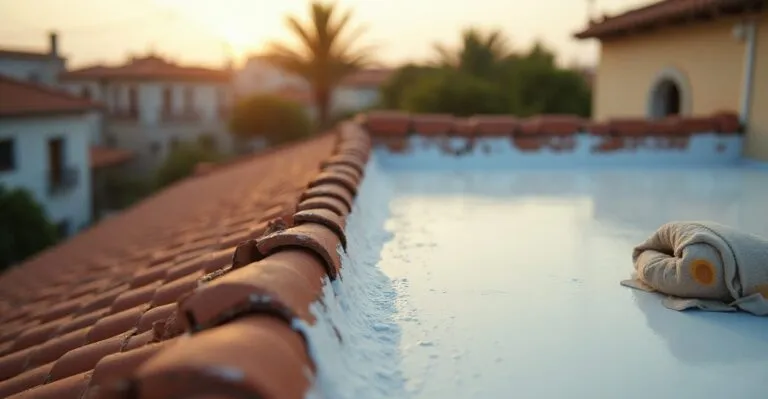
Read also: Thermal Paint Is Trending: Why Everyone Is Giving It a Try
- Dry and store straw in a well-ventilated area before use;
- Install a vapor-permeable membrane to let indoor moisture escape;
- Secure straw in bales or panels and compress it moderately;
- Add an outer layer (plaster, boards, or clay panels) to protect it from rain.
These simple practices reduce risk and maximize insulation at a low cost, using common tools.
Common Mistakes That Turn a Solution Into a Problem
The biggest mistake is assuming “straw is just straw.” Common pitfalls include:
- Using damp or poorly dried straw—leading to mold and rot;
- Failing to provide ventilation—trapping moisture and reducing R-value;
- Skipping rodent protection—leaving the structure vulnerable to damage;
- Overcompressing the straw—squeezing out the still air that provides insulation.
Avoiding these mistakes can mean the difference between real savings and expensive rework.
A Practical Comparison: Installation Expectations vs. Reality
Expectation: “I’ll add straw and the problem is solved.” Reality: proper technique and finishing matter. Here’s a surprising comparison:
| Aspect | Expectation | Reality |
|---|---|---|
| Upfront cost | Very low | Low, but requires skilled labor |
| Maintenance | None | Periodic inspections and moisture protection |
| Performance | Immediate and perfect | Depends on thickness and sealing |
A quick story: I saw a case where a family saved 40% on their summer energy bill after insulating the attic with straw—but only after fixing leaks and installing a membrane. Without those fixes, the straw alone had failed within the first month.
When Straw Is Not the Best Choice
There are situations where I wouldn’t recommend straw insulation: places with constant rain and no suitable covering, flood-prone areas, or industrial buildings with strict fire-resistance requirements and codes. In these cases, compressed and treated materials or mineral insulation may be safer. Still, for many modest homes in predominantly dry or seasonal climates, straw is a practical, sensible solution.
If you plan to give it a try, start small: insulate an attic or an exterior wall as a pilot project. Measuring temperatures before and after on hot days is the most convincing proof—and the savings can show up quickly.
What Do You Need to Install Straw Insulation at Home?
To install straw insulation, you’ll need clean, dry straw; a structure that can support the desired thickness; a vapor-permeable membrane; exterior protection from rain (roofing, plaster, or panels); and pest screens. Basic tools include a knife or saw for trimming bales, gloves, binding tape, and drill bits or staples for fastening. The technique requires room for ventilation and an understanding of vapor barriers; hiring a professional for the first trial can reduce risks. Planning and drying the straw in advance are essential.
How Long Does Properly Installed Straw Insulation Last?
When straw is dry, properly ventilated, and protected from rain, it typically lasts 15 to 30 years, depending on local conditions. Annual preventive maintenance—checking for leaks, screens, and gaps—can extend its lifespan. Problems are more often caused by installation mistakes (ongoing moisture, overcompression, or contact with the ground) than by the material itself. With basic care, straw can match industrial materials for longevity while maintaining a low environmental footprint.
Is It Fire-Safe?
Straw is combustible, so fire safety depends on the design. Fire-retardant treatments, noncombustible exterior coverings, and safe distances from chimneys and heat sources all reduce risk. In rural and residential buildings, straw is often combined with an exterior intumescent coating or clay or cement plaster, which acts as a thermal barrier. Straw is not recommended near ovens or wood stoves without adequate protection. Check local building codes before installation.
What Thickness Is Right for My Climate?
The ideal thickness varies by climate: in hot, dry regions, 20–30 cm generally provides good comfort; in areas with large temperature swings, 30–35 cm can improve thermal stability. For wood walls or panels, adjusting density is just as important as thickness. Think in terms of equivalent R-value: adding a few centimeters can significantly reduce temperature peaks. Put together a basic plan and, if possible, check local heat-transfer data to determine the right thickness.
Can I Combine Straw with Other Insulation?
Yes—combining straw with other insulation is a sensible approach: an outer layer of mineral wool or reflective panels can improve fire resistance and manage moisture. Hybrid systems make use of straw’s ability to buffer temperature changes and panels’ ability to improve sealing and rain protection. The key is to respect the direction of vapor flow: a less permeable layer shouldn’t be placed behind a much more permeable one without accounting for condensation. Hybrid designs often offer a good balance of cost, safety, and performance.
Artigos Relacionados
 Reflective Roof Insulation Is Trending: Why Everyone’s Talking About It
 Sustainable Insulation Is Trending: Why Is Everyone Talking About It?
 Protective Puts Are Trending: Why Everyone’s Talking About Them
 Tesouro Selic Is Trending: Why Everyone’s Talking
 Green Roofs Are Trending: Why Everyone’s Talking
 Thermal Paint Is Trending: Why Everyone Is Trying It