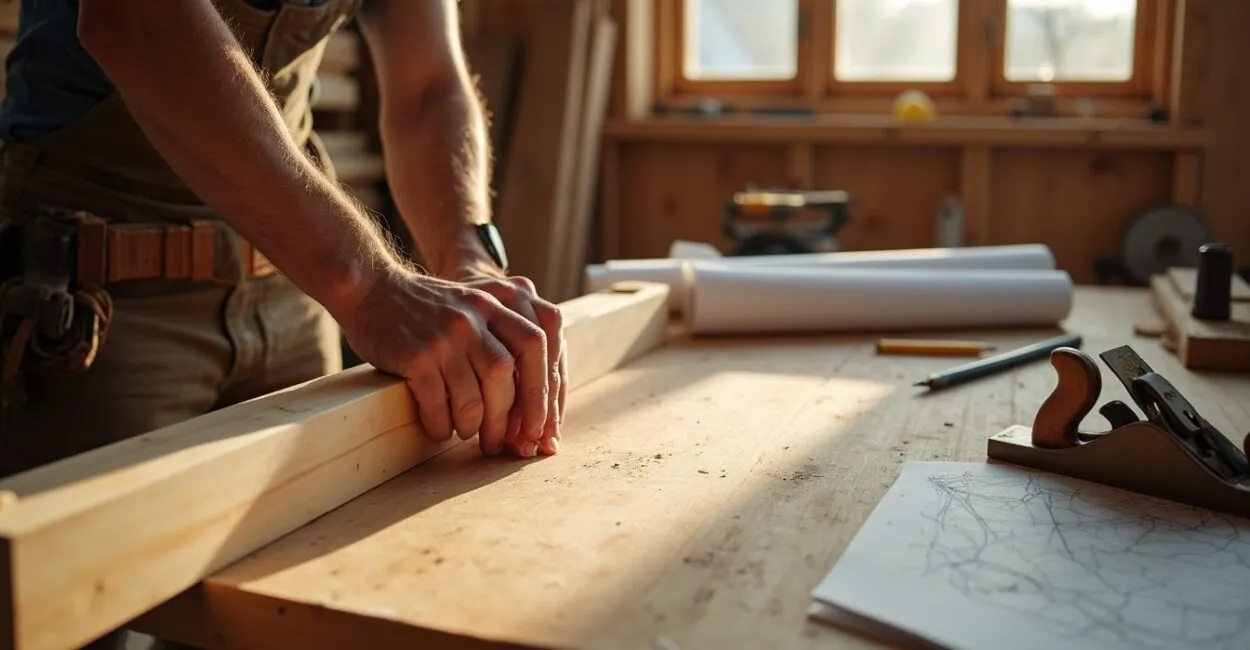
Carpentry combines craftsmanship, structural know-how, and practical problem-solving to shape buildings, furniture, and essential wooden systems. For homeowners, builders, and DIYers, developing carpentry skills helps ensure safety, durability, and quality design. Learn what a carpenter does, why their expertise matters, and how to start applying foundational techniques today.
Demand for skilled carpenters spans renovations, new construction, and custom millwork, offering steady work and creative fulfillment. This article explores core concepts, practical workflows, tools, training paths, material choices, the benefits and limitations of professional carpentry, and actionable best practices to improve projects and career prospects.

Carpentry Fundamentals: Definitions and Core Concepts
What Carpentry Includes and Essential Terms
Carpentry covers structural framing, finish carpentry, cabinetry, and joinery, bringing together measurements, layout, and material selection. It requires accurate blueprint reading, familiarity with lumber grades, and proficiency with hand and power tools. Understanding terms such as joist, stud, rabbet, and dado improves communication with architects, contractors, and clients while reducing errors and rework.
Carpenters must interpret drawings, select appropriate fasteners, and anticipate load paths in structures. Safety standards and building codes guide how framing and finishes are carried out, helping ensure long-term performance. Practical knowledge of how different wood species behave—including expansion, shrinkage, and strength—guides durable design decisions.
Mastering these basics shortens the learning curve and improves project outcomes, whether you’re working on a deck, a kitchen renovation, or a timber frame. This foundation prepares you for apprenticeships, certification, and more advanced joinery and restoration techniques.
- Structural framing: walls, floors, and roof assemblies
- Finish carpentry: trim, moldings, and door and window casings
- Cabinetry and furniture joinery: dovetails and mortise-and-tenon joints
- Materials science: wood species, engineered lumber, and composites
Training Paths, Certifications, and Apprenticeships
Carpentry training ranges from vocational certificates to multi-year apprenticeships that combine classroom instruction with on-the-job learning. Apprenticeships typically last 3–4 years and include 144 hours of technical instruction per year in many jurisdictions, building journeyman-level skills validated by trade organizations. This combination of theory and practice develops proficiency in layout, tool use, and code compliance.
Certifications from organizations such as the National Center for Construction Education and Research (NCCER) or equivalent bodies validate skills and improve job prospects. Short courses in blueprint reading, OSHA safety, and specialized joinery can accelerate career advancement and help workers develop a niche.
Investing in formal training often leads to higher wages and better job prospects. According to the U.S. Bureau of Labor Statistics, employment of carpenters is projected to grow 3% from 2022 to 2032, reflecting steady demand for residential and commercial construction services (BLS).
Tools and Workshop Essentials for Effective Work
A carpenter’s toolkit includes measuring tools (tape measure, square, and level), cutting tools (circular saw, jigsaw, and handsaw), fastening tools (nailers and screwdrivers), and layout tools (chalk line and marking gauges). Portable power tools boost productivity, while high-quality hand tools enable precise finishes. Maintaining and calibrating tools is essential for consistent results and safety.
Invest in at least one reliable circular saw, a finish nailer, a compound miter saw for trim work, and a router for joinery and edge profiles. Proper personal protective equipment (PPE)—including eye and hearing protection and dust masks—reduces the risk of injury during everyday work.
Organizing a portable tool setup for job sites and keeping a stable bench for workshop tasks improves workflow. A budget of about $1,500–$3,000 for a basic professional starter set is common; specialty tools will add to the cost depending on your focus.
Carpentry Techniques: Practical, Step-by-Step Processes
Preparing a Project: Site Assessment and Layout
Site assessment begins with taking measurements, verifying existing conditions, and checking for structural constraints such as load-bearing walls and utilities. Establish reference lines and levels before cutting or removing materials to avoid costly mistakes. Accurate layout reduces material waste and helps ensure components fit as designed.
Evaluate the condition of the substrate, including moisture levels in framing, floor levelness, and signs of rot or pests. These inspections inform decisions about repairs, reinforcement, or moisture mitigation. Share findings with stakeholders in a clear, concise report before proceeding.
Good layout practices include transferring structural points from plans to the job site, marking framing positions, and double-checking diagonals to confirm that corners are square. This upfront diligence saves time and improves construction accuracy.
- Measure twice and mark precisely with a square and laser level.
- Confirm the location of existing utilities and safely clear the work area.
- Set reference lines and verify that everything is square before cutting or fastening.
- Pre-cut test pieces and dry-fit assemblies to confirm dimensions.
Common Joinery Methods and Fastening Strategies
Joinery options—such as butt joints, dadoes, mortise-and-tenon joints, and tongue-and-groove joints—depend on strength requirements and aesthetic goals. Fasteners such as nails, screws, biscuits, and dowels reinforce joints, but choosing the right glue and preparing surfaces properly often determine long-term performance. Select joinery that suits the assembly’s expected loads and movement.
For structural framing, use metal connectors and engineered hangers to meet code-required load-transfer requirements. In finish carpentry, conceal fasteners for a cleaner look and use pilot holes to prevent splitting. Adhesives such as polyurethane or PVA create strong bonds when clamped properly.
Understanding wood movement and seasonal expansion helps determine appropriate joint tolerances. Planning for gaps, floating panels, and expansion slots prevents splitting, buckling, and binding over time.
Finishing and Tolerances for High-Quality Results
A quality finish depends on precise sanding, carefully cut miters, and consistent joint gaps. Tolerances for trim and cabinetry are often within 1–3 mm at visible seams to maintain visual continuity. Use fine-grit abrasives and progressively finer grits to prepare surfaces for paint or clear finishes, and test finishes on scrap material to check color and absorption.
Sealing end grain and controlling humidity during finishing reduce movement and blistering. For painted finishes, proper priming and multiple thin coats create a durable surface. For natural finishes, oil or polyurethane enhances the grain and protects surfaces.
Plan finishing schedules to allow adequate drying time. Many water-based coatings cure in 24–48 hours, while oils may take several days, helping ensure durable, professional results.
Materials and Alternatives for Carpenters

Solid Lumber vs. Engineered Wood
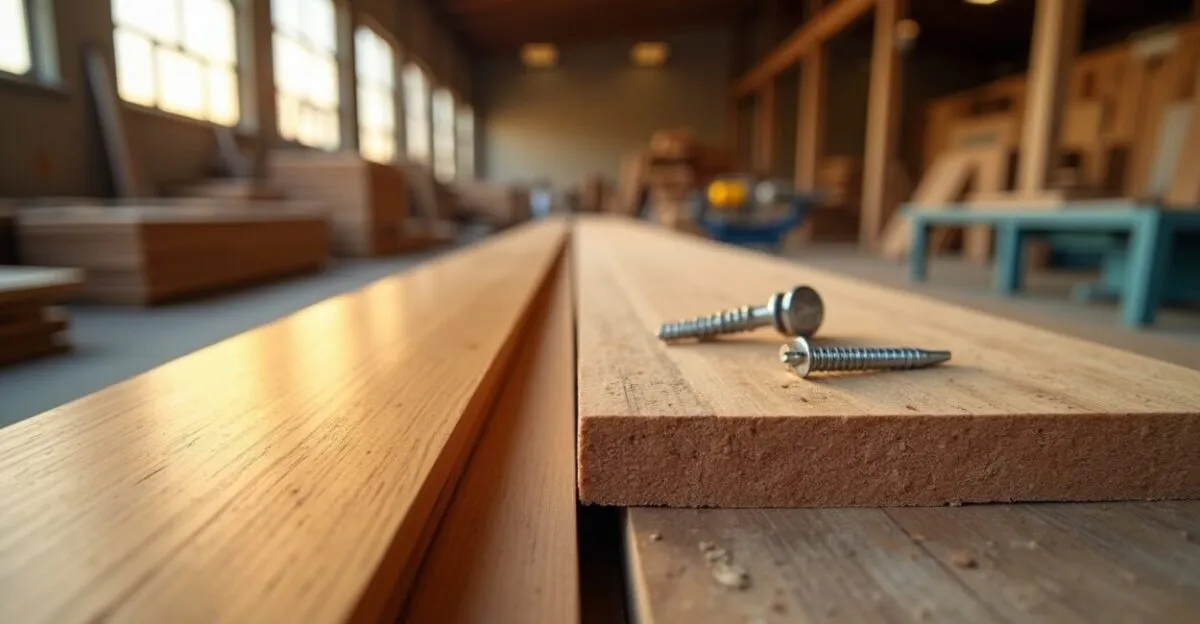
Solid lumber offers natural beauty and structural strength but can move more noticeably as humidity changes. Engineered products—plywood, LVL (laminated veneer lumber), and OSB—provide consistent dimensions, greater stability, and often improved load-bearing performance for beams and headers.
The right choice depends on the application: use LVL or glulam for long-span structural members, plywood for sheathing and cabinet substrates, and solid hardwood for visible trim and flooring. Budget, durability, and appearance also factor into the decision.
According to industry reports, engineered wood production has increased over the past decade, with some projects reducing material costs by up to 15% through optimized engineered solutions (USFS Forest Products Lab).
Choosing Fasteners, Adhesives, and Hardware
Fastener choices—galvanized nails, stainless steel screws, structural screws, and connectors—affect durability, especially in outdoor or high-moisture environments. Corrosion-resistant hardware extends service life and meets code requirements in coastal or humid areas. Choose adhesives rated for your substrate and conditions, such as waterproof adhesives for outdoor use.
Match screw types to materials: use coarse-thread screws for softwoods, fine-thread screws for hardwoods, and pilot holes to prevent splitting. High-quality hardware can prevent long-term failures in doors, cabinets, and load-bearing connections.
Consult manufacturer datasheets and local building codes when specifying products. A well-planned hardware schedule reduces callbacks and reinforces your professional reputation.
Sustainable and Reclaimed Material Options
Sustainability trends favor reclaimed lumber, FSC-certified materials, and low-VOC finishes to reduce environmental impact. Reclaimed wood adds character and is often denser, but it should be inspected for embedded metal, nails, and pests. Certification helps ensure responsible sourcing and can appeal to environmentally conscious clients.
Reclaimed or engineered alternatives can reduce embodied carbon. Some projects report cutting material-related emissions by 20–40% by using reclaimed or certified materials. Consider lifecycle impact as well as cost and availability when specifying materials.
Including sustainable choices in bids and designs can set your services apart and align projects with green building incentives or certifications, such as LEED or local sustainability programs.
| Material | Best Use | Typical Cost/Unit |
|---|---|---|
| Dimensional Pine | Framing, rough carpentry | $2–$4 per linear foot |
| Plywood (3/4″) | Sheathing, cabinet substrate | $25–$50 per sheet |
| LVL Beam | Long-span headers | $50–$150 per linear foot |
| Hardwood (oak) | Trim, flooring | $3–$7 per board foot |
Comparing Carpentry Methods and Systems
Traditional Framing vs. Platform Framing
Traditional post-and-beam framing uses large timbers and joinery, with structural members left exposed. It is popular for restoration and timber-frame projects because of its distinctive look and ability to span large spaces. Platform framing, common in modern residential construction, builds one floor at a time on a platform, simplifying carpentry and improving speed and material efficiency.
Platform framing reduces the need for large cranes, lowers labor requirements per floor, and standardizes repetitive tasks such as wall assembly. Timber framing requires specialized joinery skills but offers greater open-span capabilities and a distinctive appearance.
Choose platform framing for cost-effective new construction and timber framing when architectural impact and longevity are priorities and the budget allows.
Stick-Built vs. Modular Construction
Stick-built construction assembles components on-site, allowing design flexibility and customization during construction. Modular construction fabricates sections off-site in controlled environments, improving quality control and reducing on-site labor and weather-related delays. Both approaches require carpentry expertise but differ in workflow and logistics.
Read also: Real Estate Funds: A Complete Beginner’s Guide to Investing
Modular methods can cut project timelines by up to 30–50% on some repetitive residential builds, while stick-built construction remains preferable for highly customized or retrofit work, where limited access and irregular layouts can complicate factory production.
Consider project scale, site constraints, and schedule when choosing between stick-built and modular strategies to optimize cost and quality.
Leia também: Transportation Engineer: A Key Professional for the Future of Urban Mobility
Mechanically Fastened vs. Adhesive-Bonded Assemblies
Mechanical fasteners provide immediate structural support and are easy to inspect or remove. Adhesives create continuous bonds that distribute loads and reduce stress concentrations. Many modern assemblies combine both approaches to take advantage of each method for transferring shear forces and concealing fasteners.
Adhesive bonding improves joint fatigue resistance and reduces visible fastener patterns, while fasteners remain essential for heavy structural loads and temporary clamping as the adhesive cures. Follow the manufacturer’s specifications for curing times and allowable stresses.
Combining methods often delivers the most reliable performance, particularly in cabinetry, engineered flooring, and load-bearing laminated beams.
| Characteristic | Advantages | Disadvantages |
|---|---|---|
| Stick-built | Highly customizable, flexible on-site | Longer timelines, weather-dependent |
| Modular | Faster assembly, controlled quality | Transportation limits, design constraints |
| Timber frame | Large spans, aesthetic appeal | Specialized labor, higher material costs |
Benefits and Business Case for Hiring a Carpenter
Quality, Longevity, and Functional Benefits
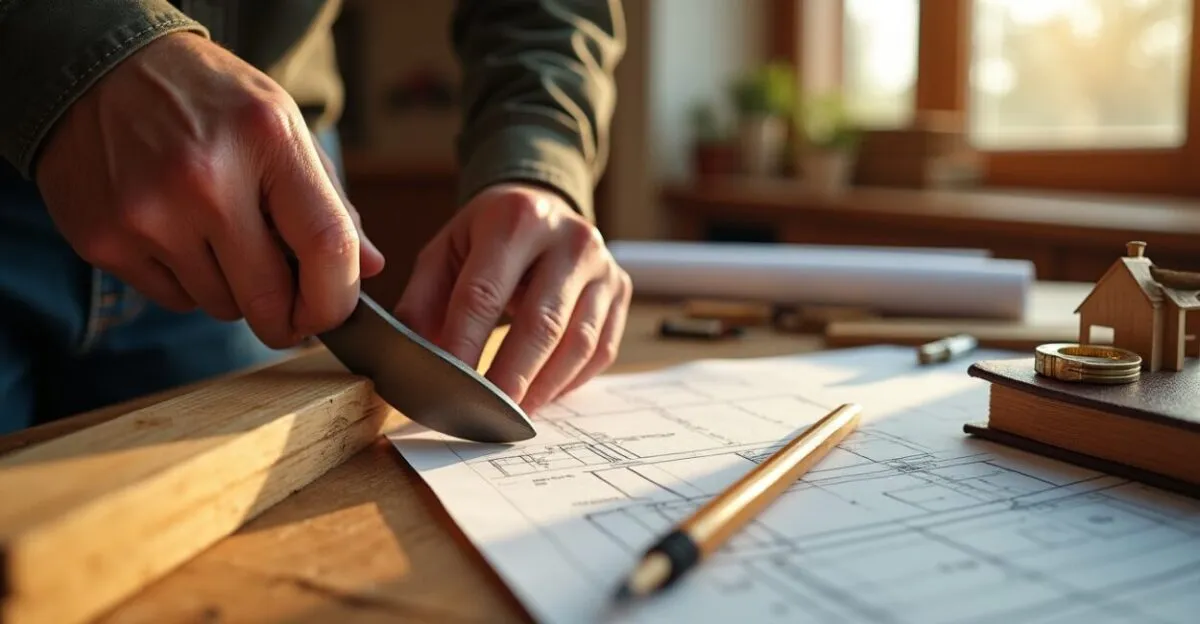
Professional carpentry delivers precise fits, code-compliant assemblies, and finishes that extend service life. Skilled carpenters reduce callbacks by anticipating movement, load paths, and environmental stresses. High-quality workmanship increases property value and lowers long-term maintenance costs for owners and property managers.
Custom carpentry can add visual distinction and functional improvements—built-ins, optimized storage, and tailored ergonomics—that off-the-shelf products cannot match. Properly executed carpentry can also improve energy efficiency by sealing penetrations and installing efficient window and door assemblies.
Clients who invest in quality carpentry often see measurable returns in longevity, with well-built features lasting for decades with routine maintenance.
- Improved structural integrity and safety
- Higher resale value
- Custom solutions that make better use of space
- Less frequent maintenance and repairs
- Greater aesthetic appeal and functionality
Economic Considerations and ROI
Upfront carpentry costs vary widely: a small finish carpentry job might cost a few hundred dollars, while a full-scale remodel can exceed tens of thousands. According to Remodeling Magazine’s Cost vs. Value report, certain interior upgrades recover 60–80% of their cost at resale, demonstrating the strong ROI of quality carpentry-driven renovations (Remodeling).
Budget planning should account for material waste (typically 5–10% extra), labor rates, and a contingency for unexpected repairs in older structures. Investing in durable materials and skilled labor can reduce lifecycle costs compared with cheaper, lower-quality alternatives.
Consider long-term value when specifying finishes and structural upgrades. The cheapest option upfront often costs more over a 10–20 year period.
Market Demand and Career Opportunities
Carpentry offers a range of career paths, including residential framing, finish carpentry, commercial build-outs, historic restoration, and cabinetmaking. Both union and non-union career paths are available, with apprenticeships providing a route to journeyman status. Specialized skills in CNC woodworking, restoration, or green building can increase earning potential and job security.
According to the U.S. Bureau of Labor Statistics, the median annual wage for carpenters was $49,040 in May 2022, with the top 10% earning more than $84,070 (BLS Occupational Employment Statistics).
Demand fluctuates with construction cycles, but experienced carpenters with a diverse skill set—including trim work, cabinetmaking, and renovation—remain in steady demand across markets.
Limits and Challenges in Carpentry Projects
Common Constraints and On-Site Limitations
Carpentry projects often face constraints such as limited access, existing structural problems, hidden utilities, and tight schedules. These challenges call for flexible planning, contingency budgets, and creative problem-solving. Pre-construction inspections and thorough site surveys can prevent many surprises, but they cannot uncover every unknown.
Working in occupied homes adds complexity: dust control, noise reduction, and scheduling around residents’ needs require extra coordination. Complex layouts or older buildings often call for custom solutions, increasing labor hours and costs.
Accepting that not every variable can be controlled and planning flexible workflows helps teams handle challenges without compromising quality or safety.
Environmental and Regulatory Limitations
Building codes, historic preservation rules, and environmental regulations can limit material choices and construction methods. Permits and inspections add time and documentation requirements; noncompliance can lead to costly rework or legal penalties. Make sure plans and specifications meet local codes before work begins.
Environmental concerns—such as protected trees, wetlands, or neighborhood restrictions—may limit exterior carpentry work. Sourcing certified materials and following disposal rules for treated wood or chemical finishes helps avoid regulatory issues.
Coordinate early with permitting authorities and conservation officials when projects involve regulated areas to avoid delays and fines.
Disadvantages and Practical Trade-Offs
Carpentry can be physically demanding, with injury risks from repetitive motions, falls, and tool-related accidents. Material lead times can affect project schedules—specialty lumber or hardware may take weeks to arrive. Budget constraints can force trade-offs between durability and cost, sometimes compromising long-term performance.
Weather and site conditions often disrupt outdoor work, causing downtime and rescheduling. A shortage of skilled labor in some regions can drive up labor rates and limit project capacity.
Effective risk assessment and realistic scheduling help manage these trade-offs, though some limitations—such as exposure to the elements—are unavoidable.
- Skilled labor can be expensive and difficult to find
- Material lead times and supply chain variability
- Physical risks and workplace hazards
Best Practices and Practical Tips for Carpenters
Jobsite Organization and Time Management
An organized job site reduces downtime and keeps work moving. Set aside a dedicated staging area for materials, keep fasteners and hardware in labeled storage, and use checklists for daily setup and cleanup. Schedule critical tasks such as layout and rough framing during dry weather to avoid weather-related delays.
Consistent workflows—such as pre-cutting batches, grouping similar tasks, and using jigs—improve productivity and quality control. Track progress with simple daily logs to anticipate delays and communicate with clients and subcontractors.
Digital tools for measurement, scheduling, and sharing plans can further streamline work for small teams and solo carpenters.
Quality Control and Inspection Routines
Set measurable inspection checkpoints: verify layout before cutting, check plumb and level after framing, and inspect fastener spacing and patterns at each milestone. Regular inspections reduce rework and help ensure compliance with plans and codes. Use calibrated measuring tools and document results for accountability.
Encourage peer reviews and cross-checks for complex assemblies, and keep a punch list for final walkthroughs to address minor issues systematically. Record deviations and corrective actions to support continuous improvement.
Clients appreciate transparent quality checks and clear documentation, which can also support warranty claims and future maintenance planning.
Practical Tool and Technique Recommendations
Invest in a reliable 12″ compound miter saw, a cordless impact driver, a plunge router, and a quality router table for repeatable joinery. Use dedicated jigs for repetitive cuts, such as dovetails or pocket-hole angles, to ensure consistency. Sharpen blades and bits regularly to improve cut quality and reduce tear-out, especially when working with hardwoods.
Use dust collection to protect your health and extend tool life; HEPA vacuums and dust-collection ports can significantly reduce airborne particles. Label tools and keep them calibrated for accurate measurements and cleaner finishes.
Small investments in jigs, templates, and quality blades often pay off quickly through time savings and improved finish quality.
- Keep parts and fasteners organized
- Use templates and jigs for repeatable results
- Maintain tools—sharpen and calibrate them regularly
- Prioritize dust control and PPE
- Plan material orders to account for 5–10% waste
Conclusion
Carpentry skills combine technical knowledge, an intuitive understanding of materials, and disciplined workflows to deliver lasting, beautiful results. From foundational definitions and tools to advanced materials, methods, and business considerations, mastering carpentry improves project outcomes, safety, and client satisfaction. Whether you pursue a career, lead renovations, or develop your DIY skills, methodical training and practical best practices are key to consistent success.
Invest in quality tools, structured learning, and effective planning to get the most value from carpentry work. Start small, document your progress, and focus on continuous improvement—your craftsmanship and reputation will grow with experience.
Frequently Asked Questions About Carpentry
What Is a Carpenter?
A carpenter is a skilled tradesperson who builds, installs, and repairs wooden structures and components, from framing and roofing to cabinetry and trim. Carpenters interpret blueprints, select materials, make precise cuts and joints, and ensure assemblies meet safety and aesthetic standards. They work in residential, commercial, and industrial settings, often coordinating with electricians, plumbers, and architects to complete projects on time and in compliance with building codes.
How Does the Carpentry Process Typically Work?
The carpentry process begins with planning: reviewing plans, assessing the site, and ordering materials. Next come layout and framing, where reference lines and structural elements are established. Finish work includes trim, cabinetry, and surface preparation. Throughout the project, quality checks—such as measurements, fastener spacing, and plumb and level verification—help ensure that tolerances are met. Coordination with other trades and compliance with building codes guide the work sequence and final inspections.
What Is the Difference Between a Carpenter and a Joiner?
A carpenter typically focuses on on-site construction tasks—such as framing, decking, and installation—while a joiner often works in a shop, making finer wood components such as doors, window frames, and furniture. Carpenters adapt to varied site conditions and coordinate with multiple trades; joiners focus on precise joinery, detailed molding, and factory-finished components. The skills overlap, and many professionals perform both roles depending on the project and setting.
When Should You Hire a Professional Carpenter?
Hire a professional carpenter for structural work, complex trim installations, custom cabinetry, or any project where code compliance and long-term performance are priorities. For safety-critical tasks such as load-bearing modifications, roof framing, or structural repairs, a licensed carpenter can help ensure proper engineering and compliance with local building codes. For beginner DIY projects, consult a carpenter about critical layout or complex assemblies to avoid costly mistakes and achieve durable results.
How Much Does It Typically Cost to Hire a Carpenter?
Costs vary by region, project scope, materials, and skill level. Small finish carpentry jobs might start at a few hundred dollars, while major remodels or custom cabinetry projects can cost $5,000 to $50,000 or more. According to Remodeling’s Cost vs. Value reports, interior remodels often recover 60–80% of their costs. Get multiple quotes, request itemized estimates, and account for materials, permits, and contingencies to create a realistic budget for your carpentry project.